

Chapter 1 of Crimson Desert uses several early puzzles to teach you how the Abyss works. If you are stuck after the Hernand errands, this guide covers the Mystical Key, Polar Opposites, and Abyss Without Balance route in one place.
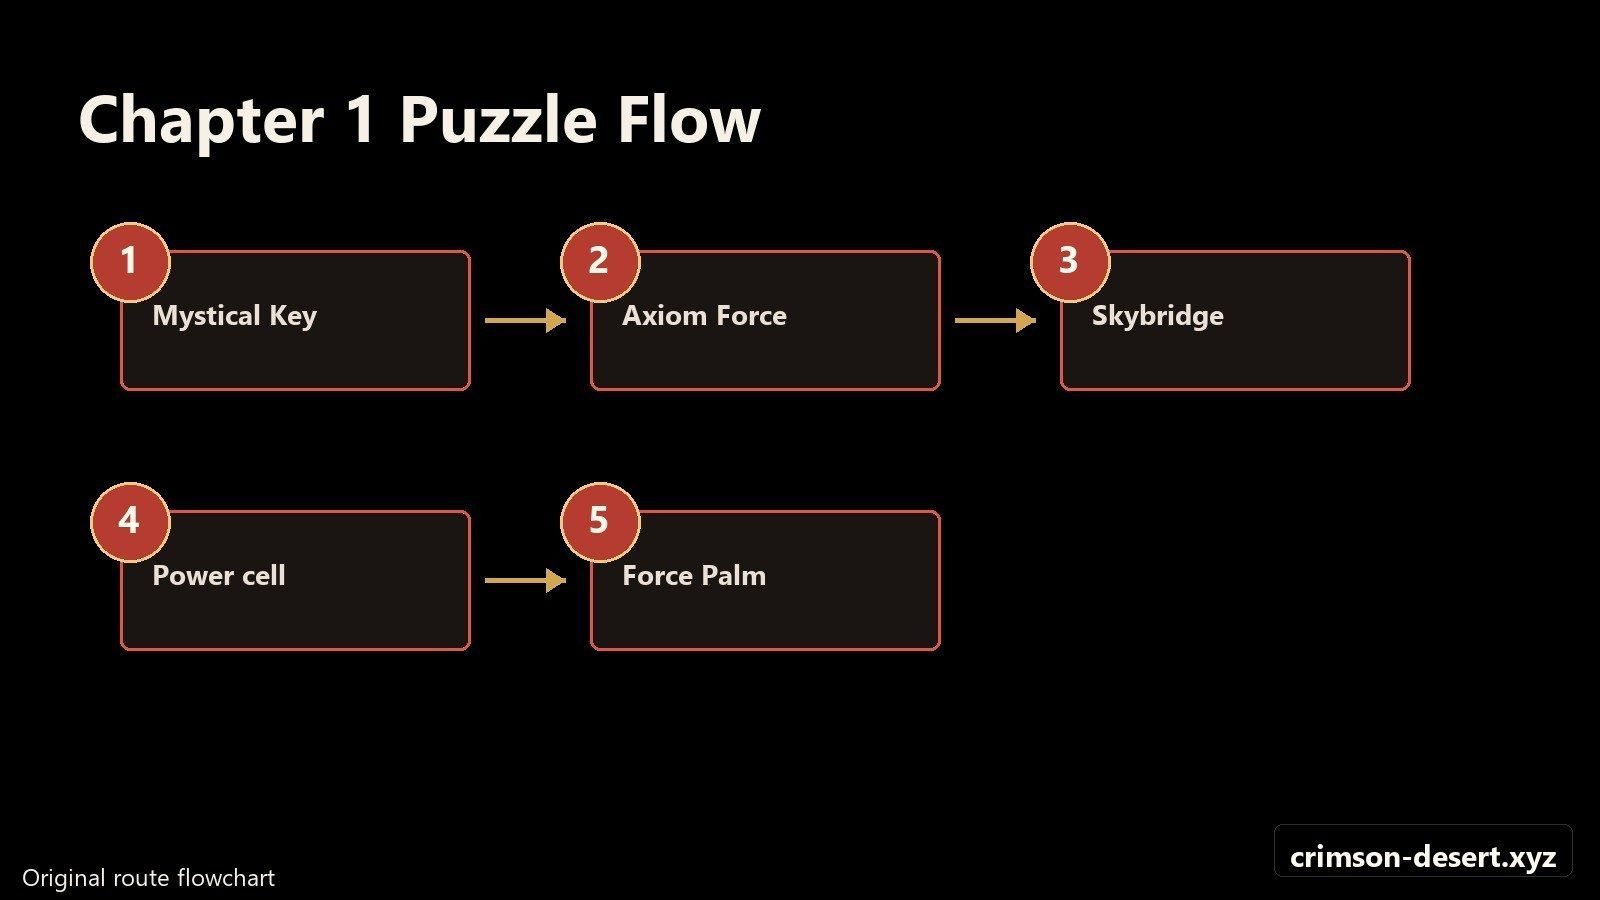
Route Flowchart
Screenshot Walkthrough
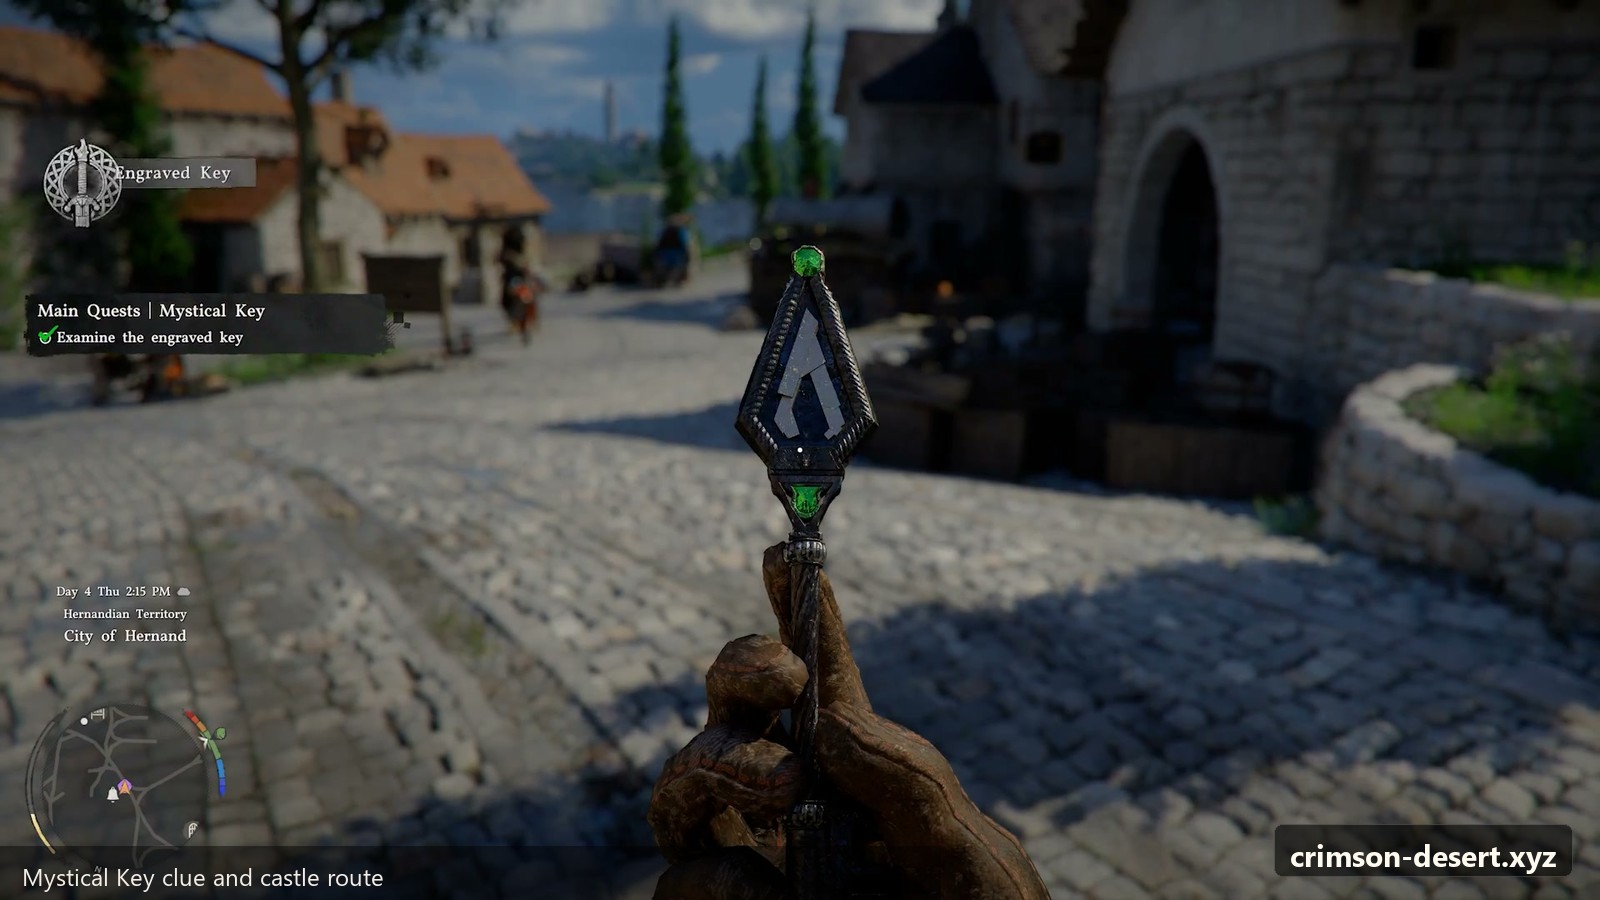
Mystical Key: Where to Use the Engraved Key
After the Trials of Kindness, inspect the key in your inventory. Once the clue updates, equip the Hernandian Attire and enter Hernand Castle. Guards should allow you through while the outfit is equipped.
- Enter Hernand Castle through either main gate.
- Pass into the inner keep.
- Go up the right-side stairs.
- Turn right at the top.
- Unlock the first door on the left with the engraved key.
Open the chest inside before using the portal. The Faded Abyss Artifact is easy to miss if you run straight into the portal.
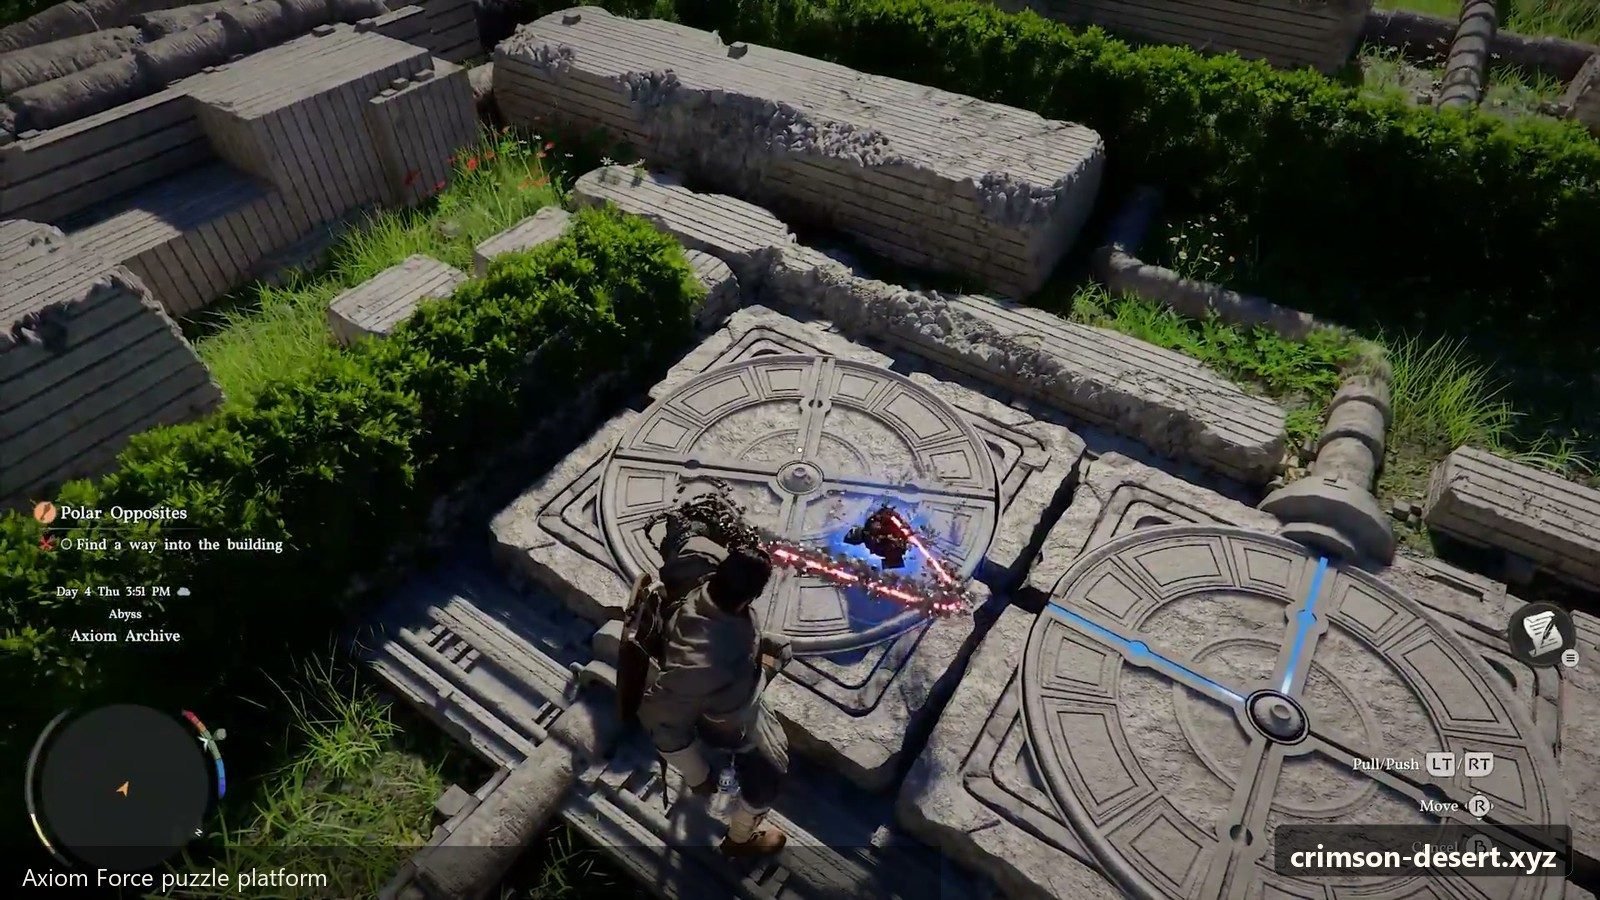
Polar Opposites: How Axiom Force Works
In the Abyss, activate the Nexus platform first. Then follow the path toward the building where the white bird grants Kliff Axiom Force. This ability lets you target movable objects and push, pull, or rotate them from a distance.
The first Axiom Force puzzle is a circuit gate. Target the disks on the floor or gate mechanism and rotate them until the blue light forms a continuous circuit. If the lines are hard to see, use your light tools to make the pattern clearer before moving the disks again.
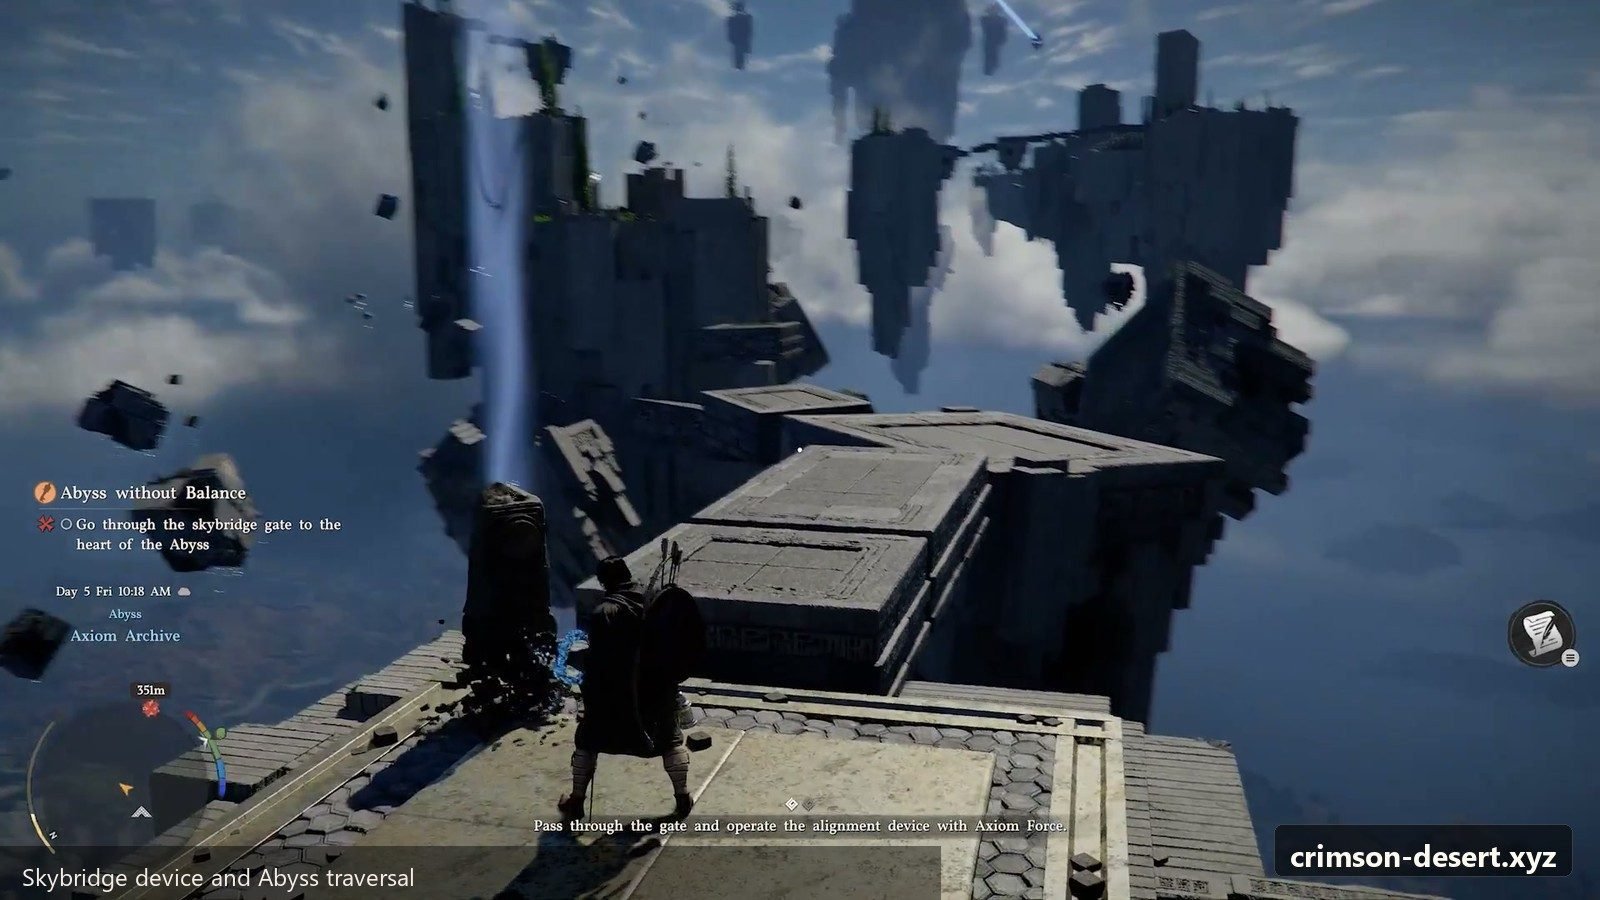
Abyss Without Balance: Skybridge Steps
- Speak with the mysterious figure inside the Axiom Archive.
- Return outside and locate the Skybridge alignment device.
- Use Axiom Force to rotate the device until it powers on.
- Cross the restored bridge path with careful jumps.
- Activate the far Abyss Nexus when you arrive.
Cube and Power Cell Puzzle
At the far Nexus, one pedestal already has a cube. Use Axiom Force to retrieve the missing cube from below and place it on the empty pedestal. When both pedestals are active, a power cell becomes available. Move the cell into the wall mount.
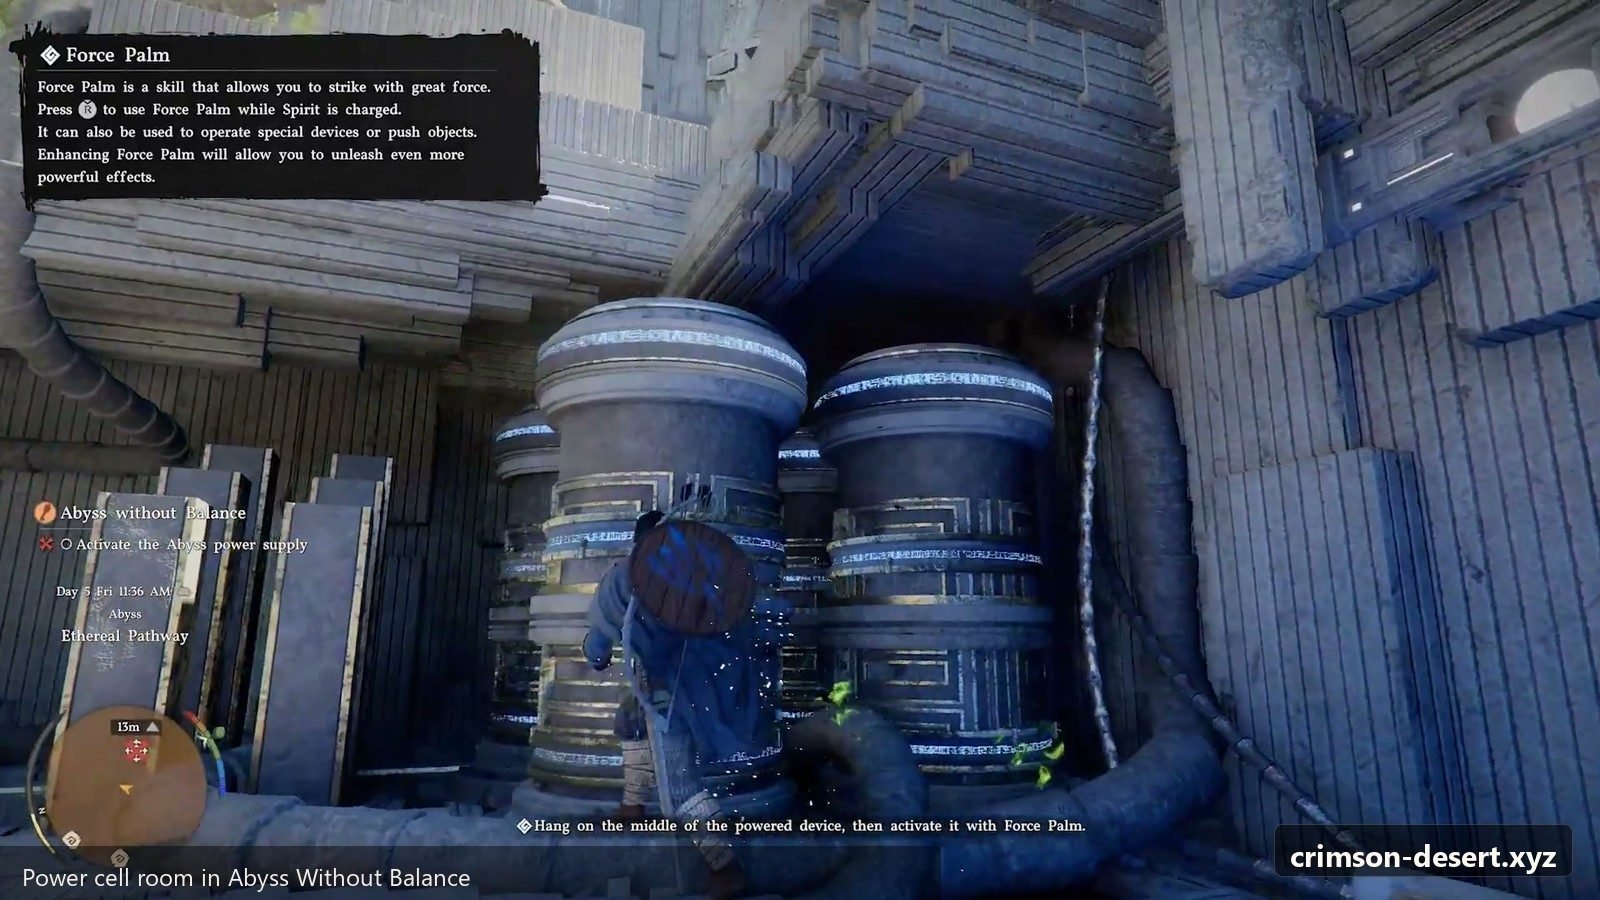
The game then demonstrates Force Palm. Use it to punch the power cell fully into place, then climb to the upper mechanism and use Force Palm again to complete the activation sequence.
Troubleshooting
- Castle guards stop you: equip the Hernandian Attire before approaching them.
- The key does nothing: inspect it in your inventory first, then go to the correct castle room.
- The circuit gate will not open: every line segment must connect into one continuous path.
- The cube puzzle seems incomplete: look below the platform for the missing cube.
- The power cell is in place but inactive: use Force Palm after positioning it.
Related Crimson Desert Routes
FAQ
Where should I go after this guide?
Use the related route links above to continue through nearby main guides, quest routes, boss briefings, and build notes.
Is this guide part of Chapter 1?
Yes. This page is connected to the Crimson Desert guide index so players can move between chapter content without returning to the homepage.
Route Judgment
Ch. 1 Mystical Key & Abyss Route is worth doing when you are already moving through Chapter 1. Quest routes are easiest to enjoy when they are folded into the nearby chapter flow instead of treated as a separate checklist after the story has dragged you somewhere else.
Before you start, confirm three things: the closest safe camp or settlement, the exact objective wording after the latest conversation, and whether the quest is asking you to search, fight, escort, solve, or report back. That small read of the route saves more time than riding straight at the marker.
Common Miss
The mistake I would watch for is leaving the area as soon as the main interaction is done. Many Crimson Desert quest spaces keep one more useful clue nearby: a side room, a ledge, a second NPC, a material pickup, or a changed line of dialogue after combat ends.
Clean Finish Checklist
- Return to the NPC or landmark that started the route if the objective feels unresolved.
- Check the edge of the search area before turning in the quest.
- Take nearby loot or materials while you are already there.
- Open the Quest Index again only after the current route is truly closed.