

Editor’s Route Brief
Chapter 1: The First Encounter Walkthrough is best used as a route companion, not a script. The main job of this page is to keep the first real route through Pywel readable while you are actually playing, especially when the game starts mixing travel, dialogue, combat, and optional cleanup in the same stretch.
My advice for this part is simple: slow down at settlement conversations and treat every new tool as something the next route may test. If the route starts to feel unclear, pause at the last objective update and check nearby NPCs, doors, climbable edges, or camp options before riding to a wider search area.
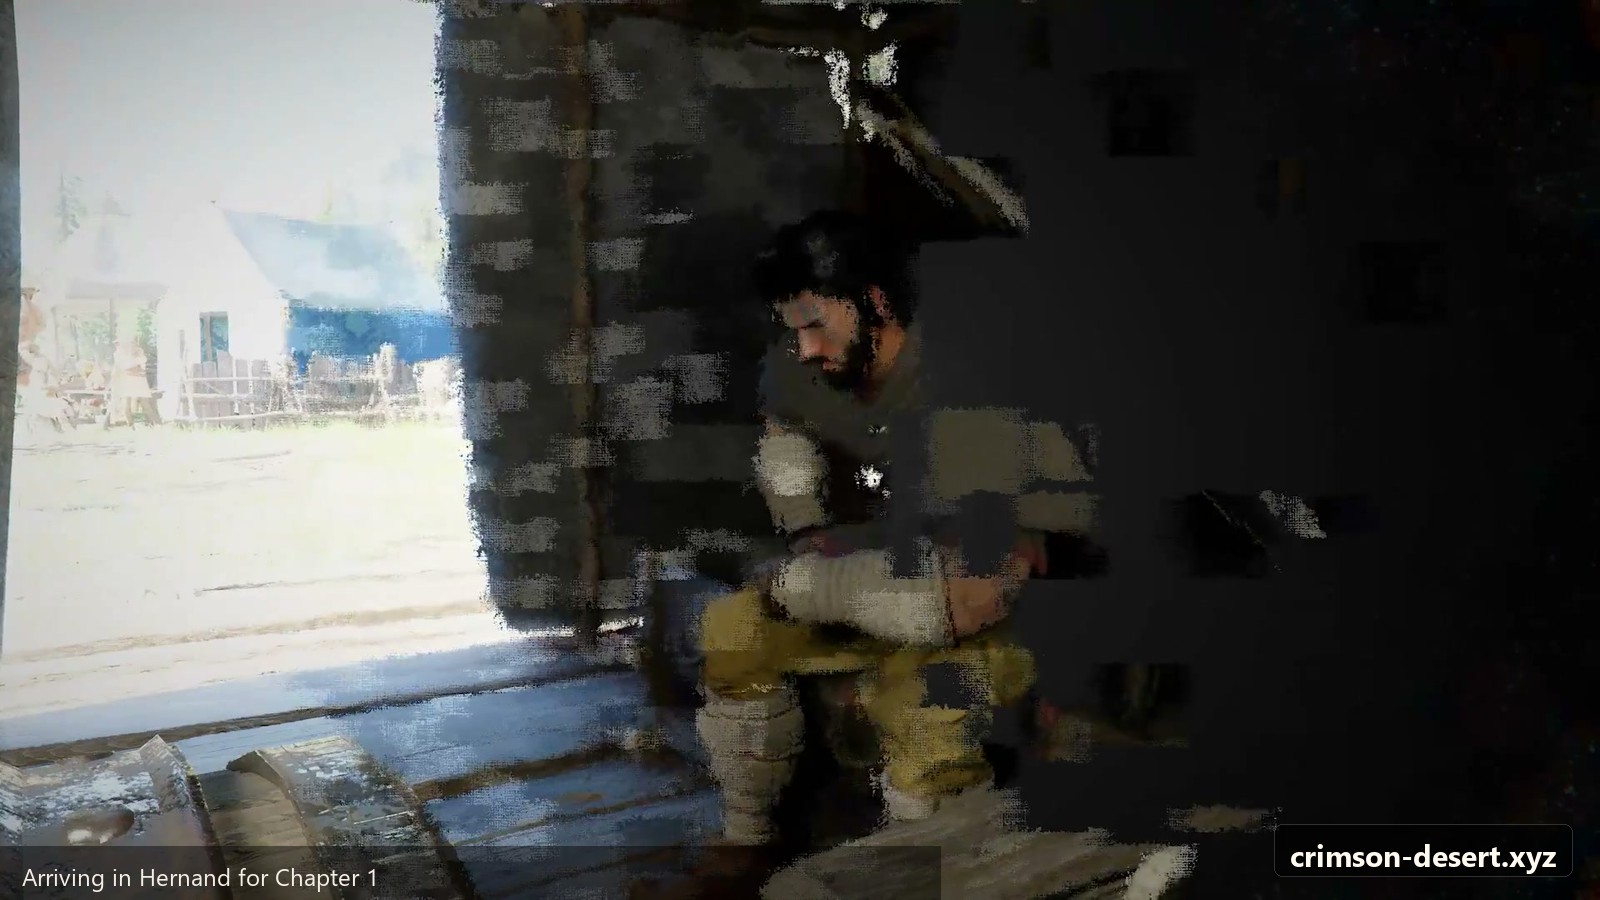
The First Encounter is Chapter 1 of Crimson Desert. It begins in Hernand with a sequence of small errands, then uses those errands to pull Kliff into Hernand Castle and the Abyss. This is one of the most tutorial-heavy chapters in the game, so it is worth understanding every mechanic it introduces.
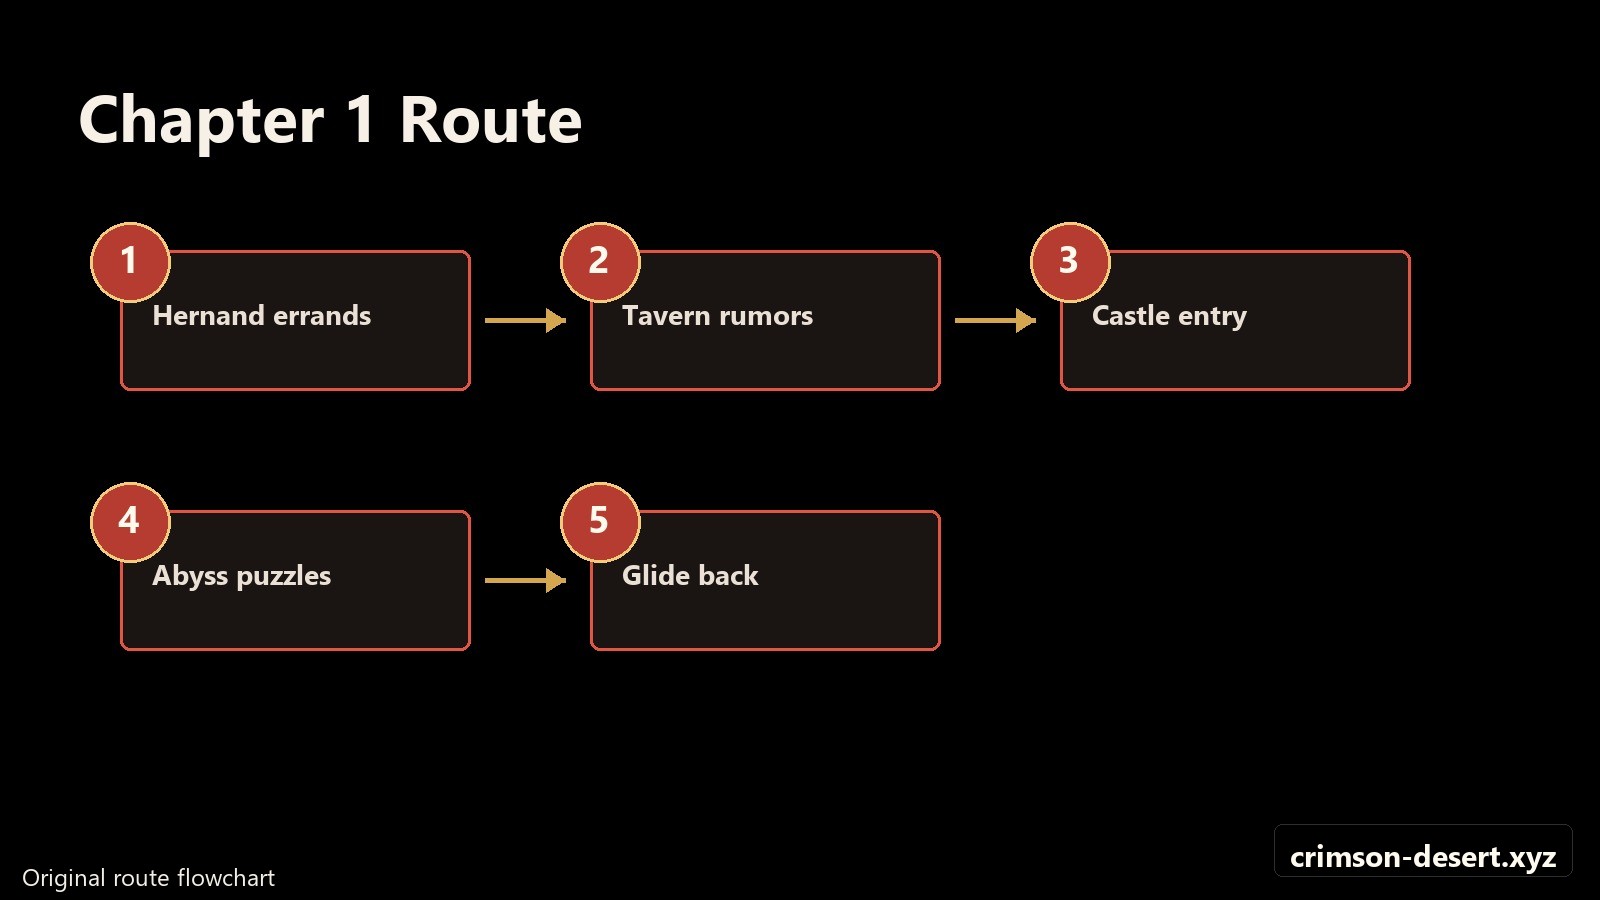
Route Flowchart
Screenshot Walkthrough
Chapter 1 Overview
- Main location: City of Hernand and Hernand Castle
- Key quest blocks: Trials of Kindness, Traces, Polar Opposites, and Abyss Without Balance
- Core mechanics introduced: arm wrestling, disguise entry, Abyss Nexus, Axiom Force, Force Palm, and gliding
- Recommended approach: finish the chapter before wandering too far outside Hernand
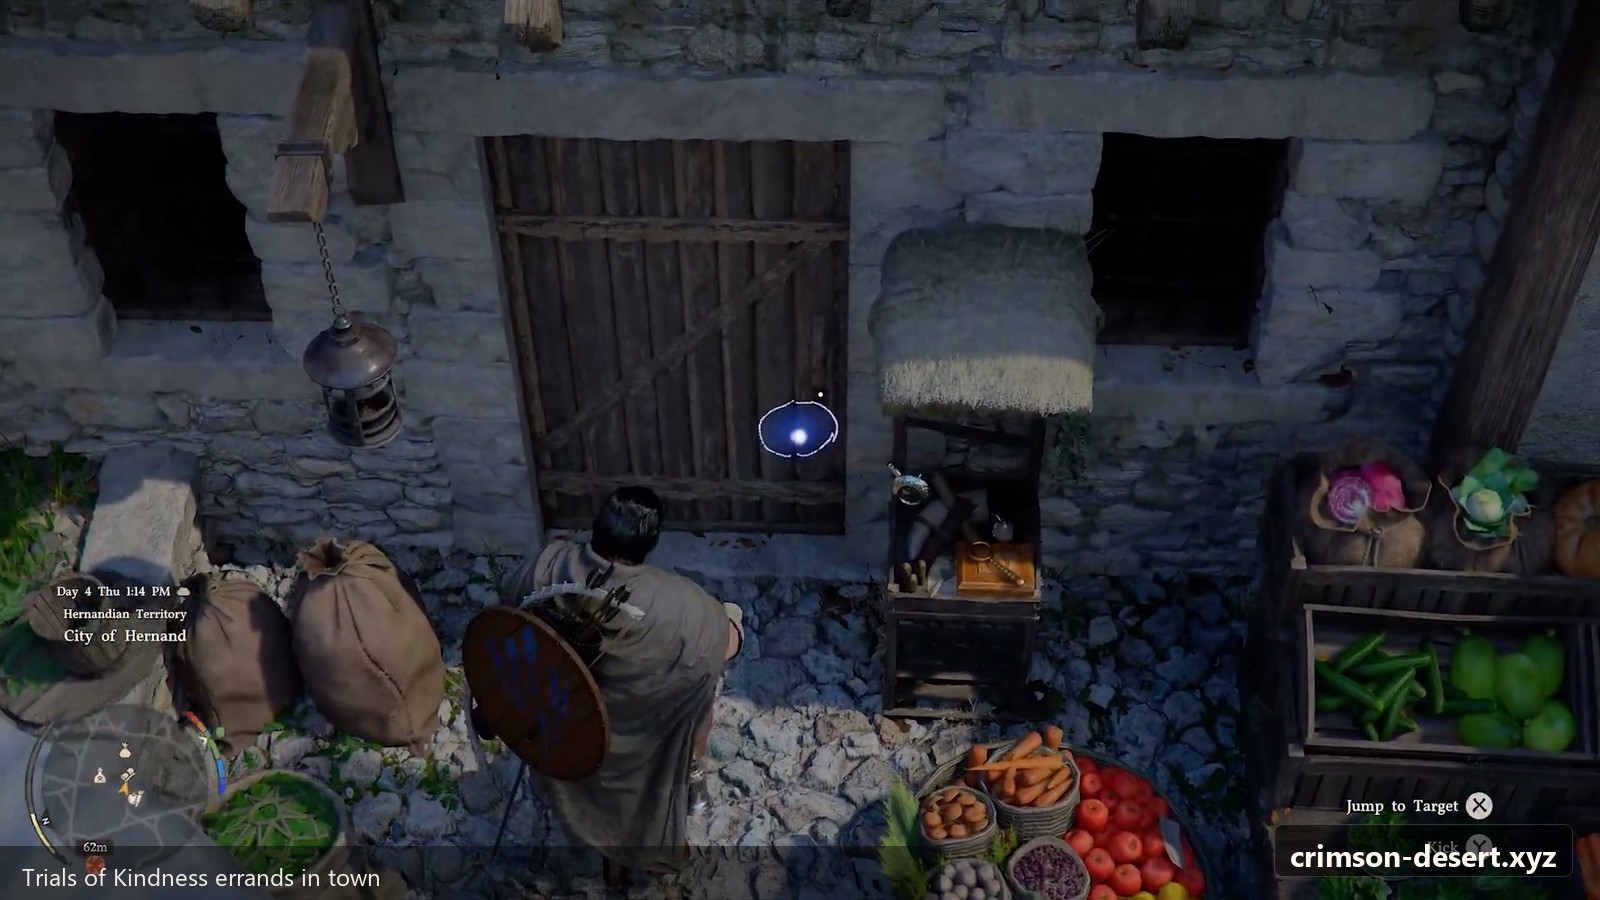
Trials of Kindness
Chapter 1 opens by sending Kliff across Hernand to help citizens. These tasks look like side activities, but together they form the route into the castle and eventually the Abyss.
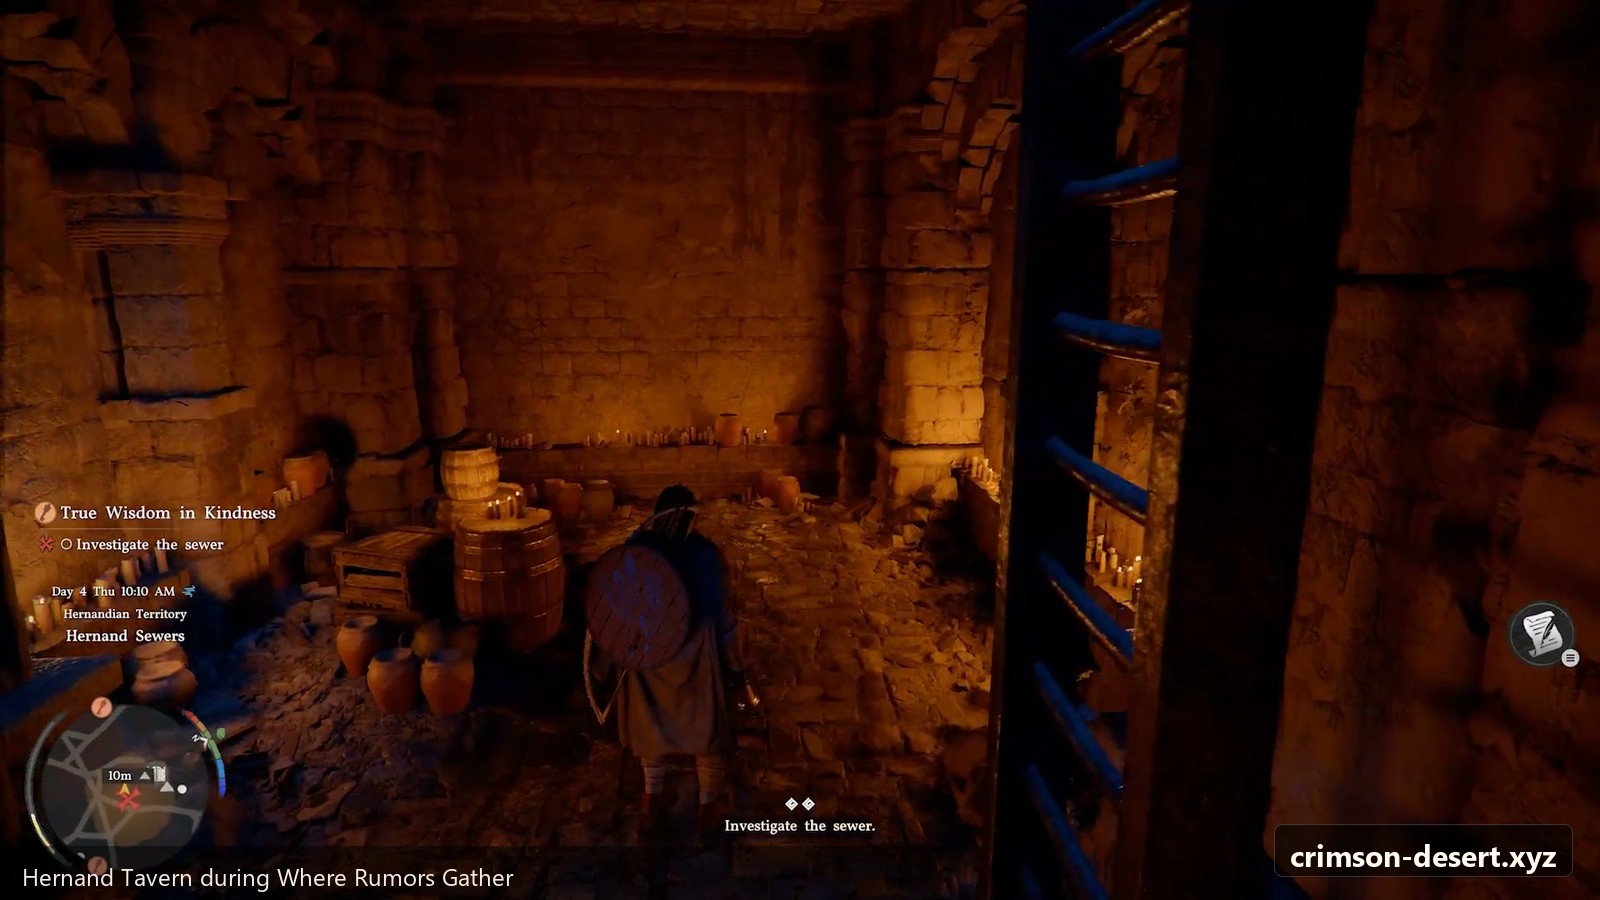
- Where Rumors Gather: enter Hernand Tavern and win the arm wrestling match.
- Help the old beggar: speak with the beggar after the boys leave and give him coins.
- Investigate the sewers: use the key connected to the beggar’s spot and free the trapped woman.
- Return the cat: find the child in green, climb to the roof, retrieve the cat, and pick up the pendant he drops.
- Clean the chimney: help the couple southeast of town and keep the Hernandian Attire reward.
Do not discard the Hernandian Attire. You need it to pass the guards and enter Hernand Castle later in Chapter 1.
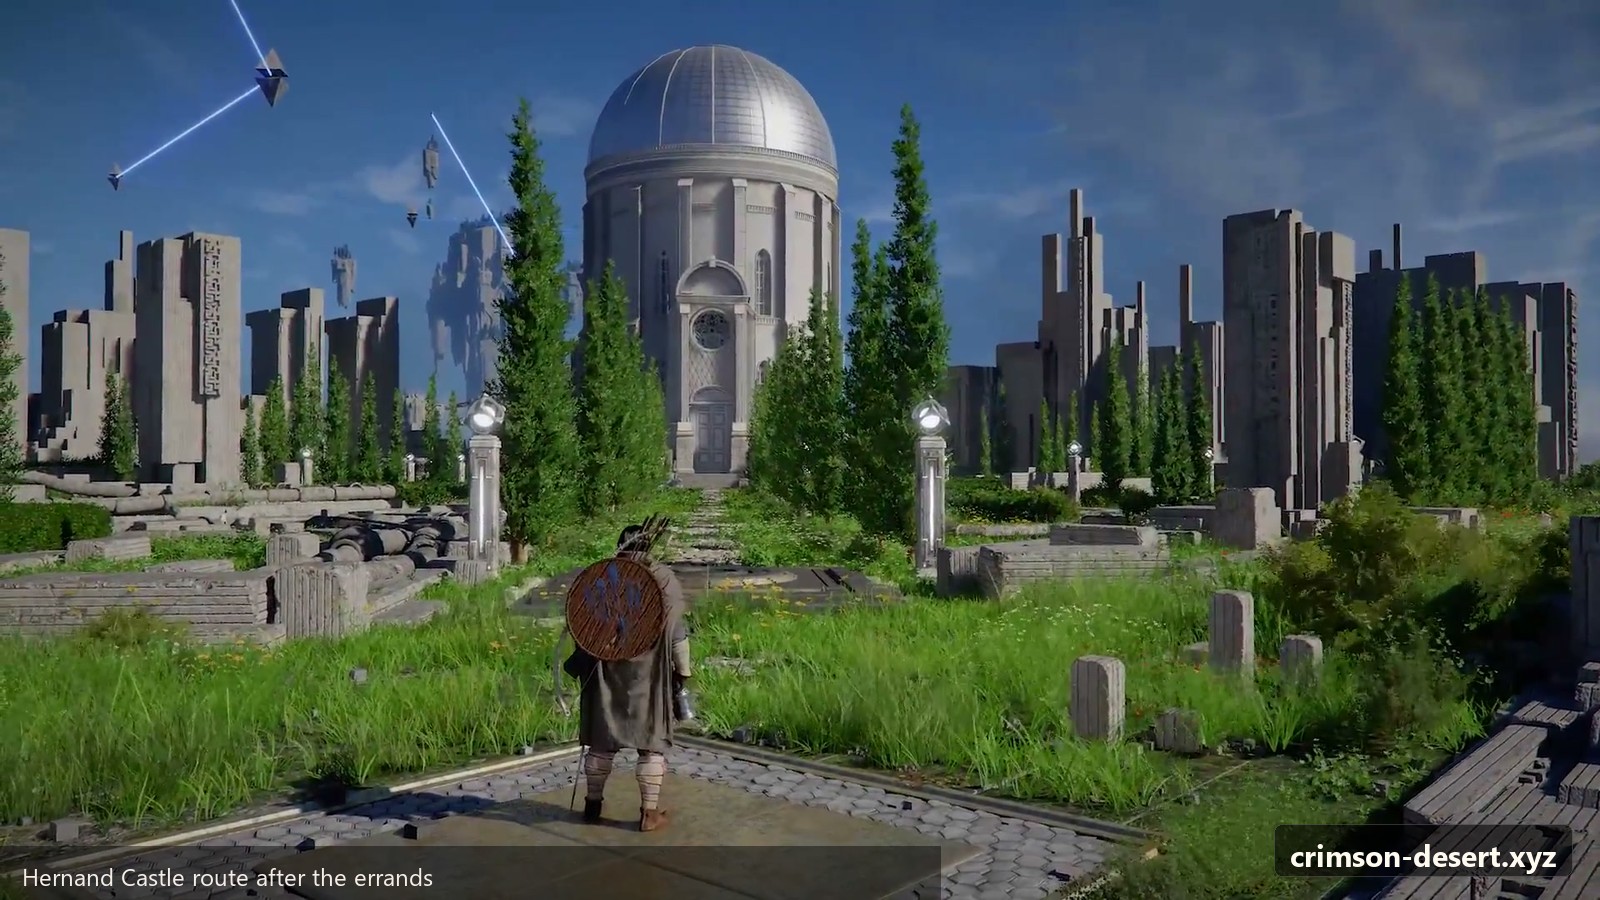
Getting Into Hernand Castle
Once the kindness tasks are complete, inspect the key in your inventory. The clue leads you to Hernand Castle. Equip the Hernandian Attire before approaching the gate so the guards allow you inside.
Inside the castle, move through the entrance and take the right-side stairs. At the top, turn right again and look for the first door on the left. Use the engraved key to enter the chamber. Before stepping through the portal, loot the chest in the room for the Faded Abyss Artifact.
The Abyss and Axiom Force
The portal sends Kliff to the Abyss. First, activate the glowing Abyss Nexus in front of you. Nexus points act as both checkpoint anchors and fast travel references, so activating them immediately is a good habit.
A white bird soon grants Kliff Axiom Force, a utility power used to rotate disks, pull objects, and solve environmental puzzles. Use it on the circuit gate by rotating the disks until the visible energy lines connect into a complete path.
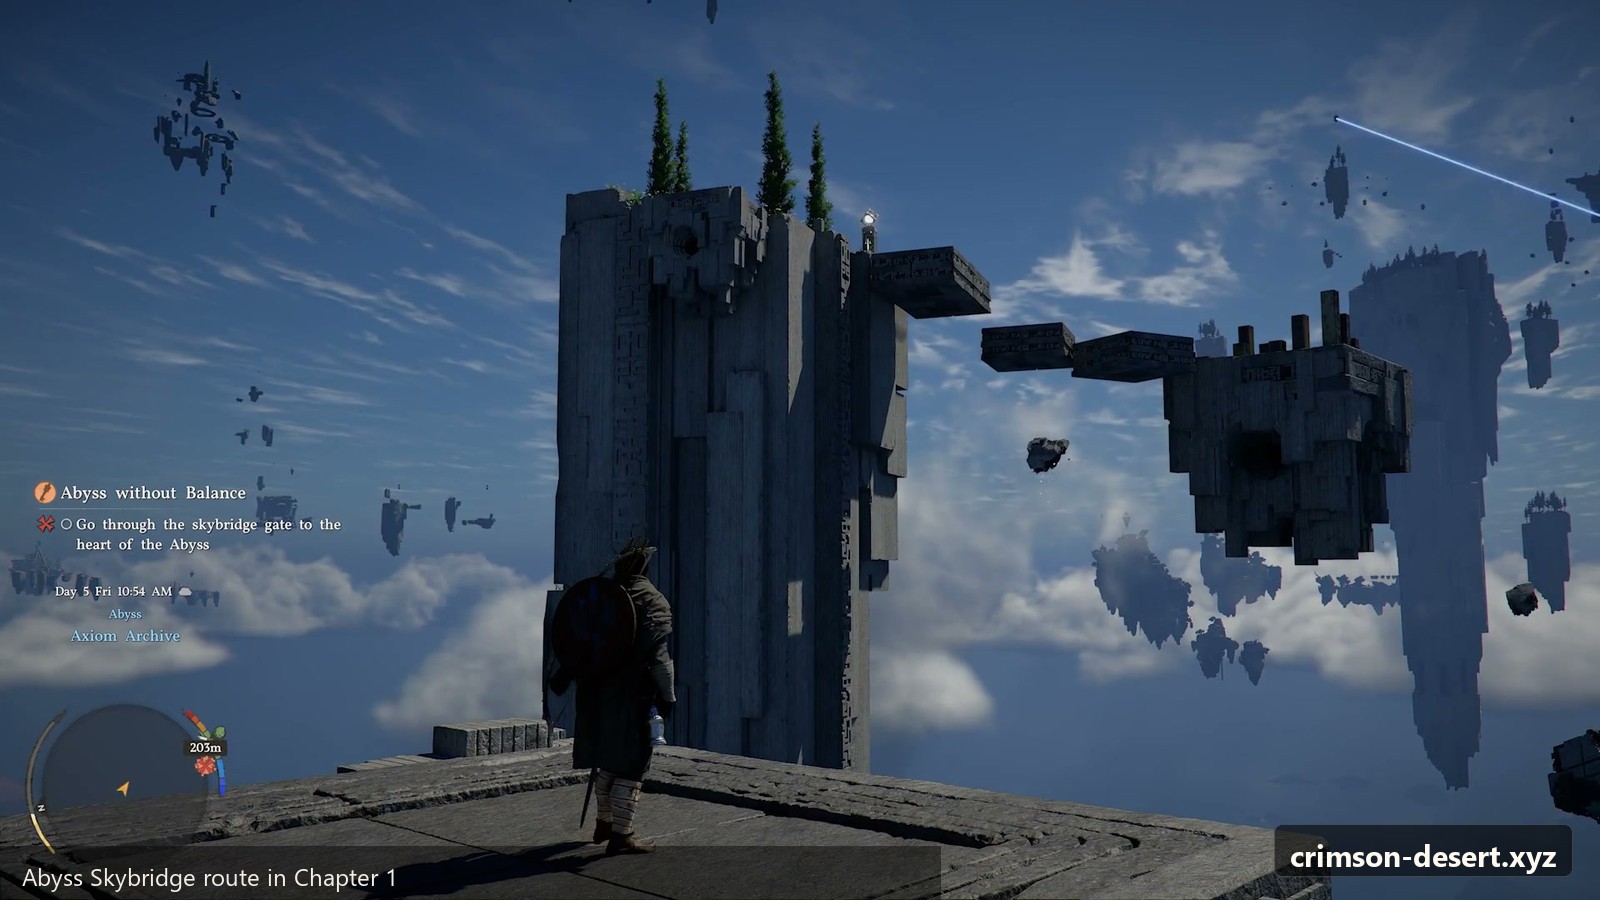
Abyss Without Balance
After entering the structure, the mysterious figure behind the earlier tests explains that Kliff must restore balance. Follow the route to the Skybridge, operate the alignment device with Axiom Force, and cross the restored path carefully.
At the far Nexus, use Axiom Force to place the missing cube on the empty pedestal. When the power cell appears, move it into the wall mount. A ghostly demonstration then teaches Force Palm. Use Force Palm to drive the cell into place and activate the mechanism above.
How Chapter 1 Ends
After powering the Nexus, collect the Abyss Artifact on the upper floor. The white bird reveals its true form as the woman Kliff rescued in Hernand’s sewers, confirming that the Trials of Kindness were a test. She grants Kliff wings and tells him to return to Hernand by jumping from the Abyss edge.
Follow the gliding tutorial prompts and land near Hernand to complete Chapter 1. The next chapter, Golden Greed, begins after this return.
Chapter 1 Checklist
- Win the tavern arm wrestling match.
- Help the old beggar and use the sewer key.
- Free the woman in the sewers.
- Return the cat and pick up the pendant.
- Clean the chimney and keep the Hernandian Attire.
- Use the engraved key inside Hernand Castle.
- Loot the chest before entering the Abyss portal.
- Activate the Abyss Nexus and learn Axiom Force.
- Complete the Skybridge and Force Palm sequence.
- Glide back to Hernand.
Related Crimson Desert Routes
FAQ
Where should I go after this guide?
Use the related route links above to continue through nearby main guides, quest routes, boss briefings, and build notes.
Is this guide part of Chapter 1?
Yes. This page is connected to the Crimson Desert guide index so players can move between chapter content without returning to the homepage.
Before You Move On
Before leaving this part of the guide, make a quick pass through the practical checks: healing stocked, camp or settlement visited, any new side quest accepted, and any locked route written down for later. Crimson Desert often rewards the player who looks once more after the obvious story beat ends.
Common Sticking Point
For the first real route through Pywel, the usual problem is not missing a huge objective. It is missing a small transition: one line of dialogue, one object interaction, one route marker that changes after the first step. When that happens, go back to the last place where the game changed the objective text.
Useful Next Pages
- All Chapters Guide for the full story order.
- Quest Index for side routes and exploration cleanup.
- Boss Index when the route turns into a major fight.
- Build Index when gear, camp, or crafting choices start to matter.
FAQ
Should I finish every side route before continuing?
Not always. Finish nearby quests and anything tied to your current camp or region. Save long cross-map errands until the story naturally sends you closer to them.
What is the safest way to use this walkthrough?
Read the next section only when you need direction. Use the page to clear confusion, then return to the game so the chapter still feels like exploration.