

Editor’s Route Brief
Chapter 2: Golden Greed Walkthrough is best used as a route companion, not a script. The main job of this page is to keep the Golden Greed route readable while you are actually playing, especially when the game starts mixing travel, dialogue, combat, and optional cleanup in the same stretch.
My advice for this part is simple: track greed-related objectives carefully and finish nearby quest leads before the chapter closes. If the route starts to feel unclear, pause at the last objective update and check nearby NPCs, doors, climbable edges, or camp options before riding to a wider search area.
Golden Greed is the second major story chapter in Crimson Desert, moving Kliff from the aftermath of Hernand into a wider investigation of bandit raids, memory fragments, the Goldleaf Merchant Guild, and Kailok the Hornsplitter. This walkthrough is written as a practical route guide: what to do first, where the important mechanics appear, and how to avoid the common stalls during the chapter.
Screenshot Walkthrough

Chapter Overview
- Starting area: Hernand and Lioncrest Watchtower
- Core mechanics introduced: fire arrows, Visione memory playback, and Nature’s Grasp
- Main quest beats: Unexpected Gift, Hernand in Chaos, and End of Greed
- Final boss: Kailok the Hornsplitter
- Recommended focus: stamina management, Perfect Guard timing, and careful use of memory clues
How to Start Chapter 2
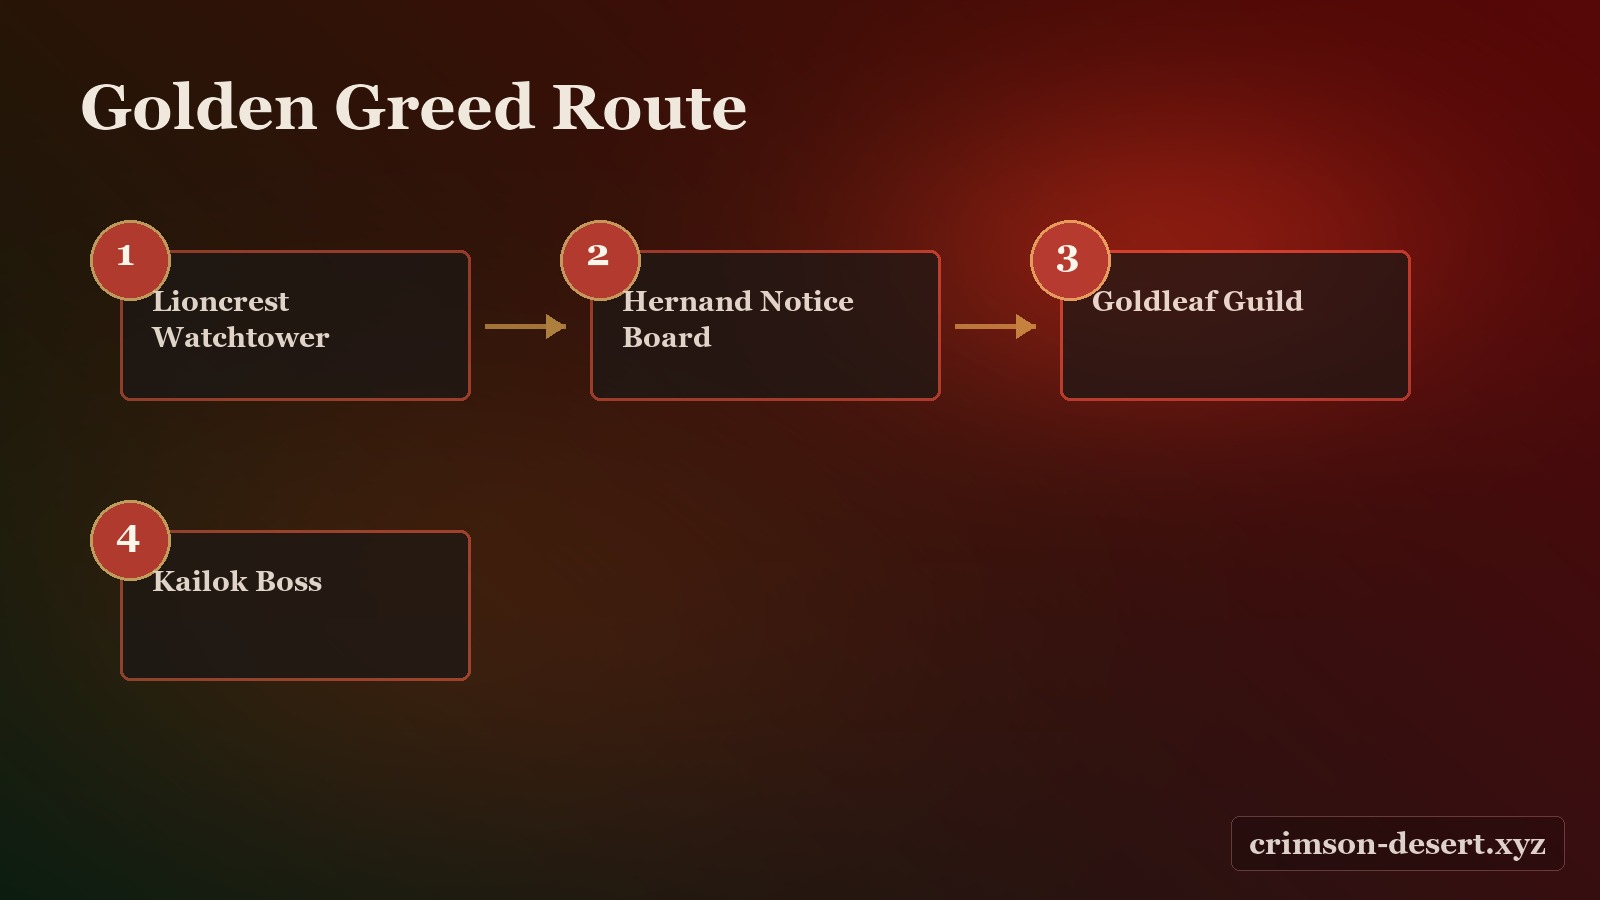
After returning to Hernand, the pendant connected to the child begins pointing Kliff toward Lioncrest Watchtower. Follow the light outside the city walls. Villagers are fleeing the area, and the tower has been taken over by bandits.
Clear the enemies around the watchtower before worrying about the door. The entrance is blocked by vines, and this is where the game teaches you how to create a burning arrow. Aim through the nearby brazier so the arrow catches fire, then shoot the vines to open the way inside.
Tip: Do not rush the stairs after opening the tower. Traps inside can punish low-health or low-stamina players, so recover before climbing.
Find the Visione
At the top of Lioncrest Watchtower, pick up the glowing golden helmet. This item is the Visione, a tool that lets Kliff view memory fragments hidden in the environment. When equipped, the world takes on a blue tint and memory traces become readable.
You do not need to keep Visione active at all times. Treat it like an investigation tool: equip it when a clue, strange object, or memory fragment appears, then switch back when combat resumes.
Learn Nature’s Grasp
Once you leave the tower, follow the black cat toward the ruins. A ghostly child demonstrates how to open the sealed entrance. Focus on the demonstration to learn Nature’s Grasp, which lets Kliff lift and move heavy objects.
Inside the ruins, you will face a three-disk wall puzzle. Activate the disks in this order:
- Middle disk
- Left disk
- Right disk
Completing the sequence lights the pillar and awards an Abyss Artifact. If the disks reset, repeat the order calmly rather than trying random combinations.
Hernand in Chaos Walkthrough
Back in Hernand, the chapter shifts from exploration to civic unrest. Kliff encounters townspeople arguing about the Greymanes, and Matthias challenges him to a duel. Matthias is less of a boss and more of a fundamentals check. Watch his longsword swings, guard or parry the obvious strikes, then counter after his short recovery windows.
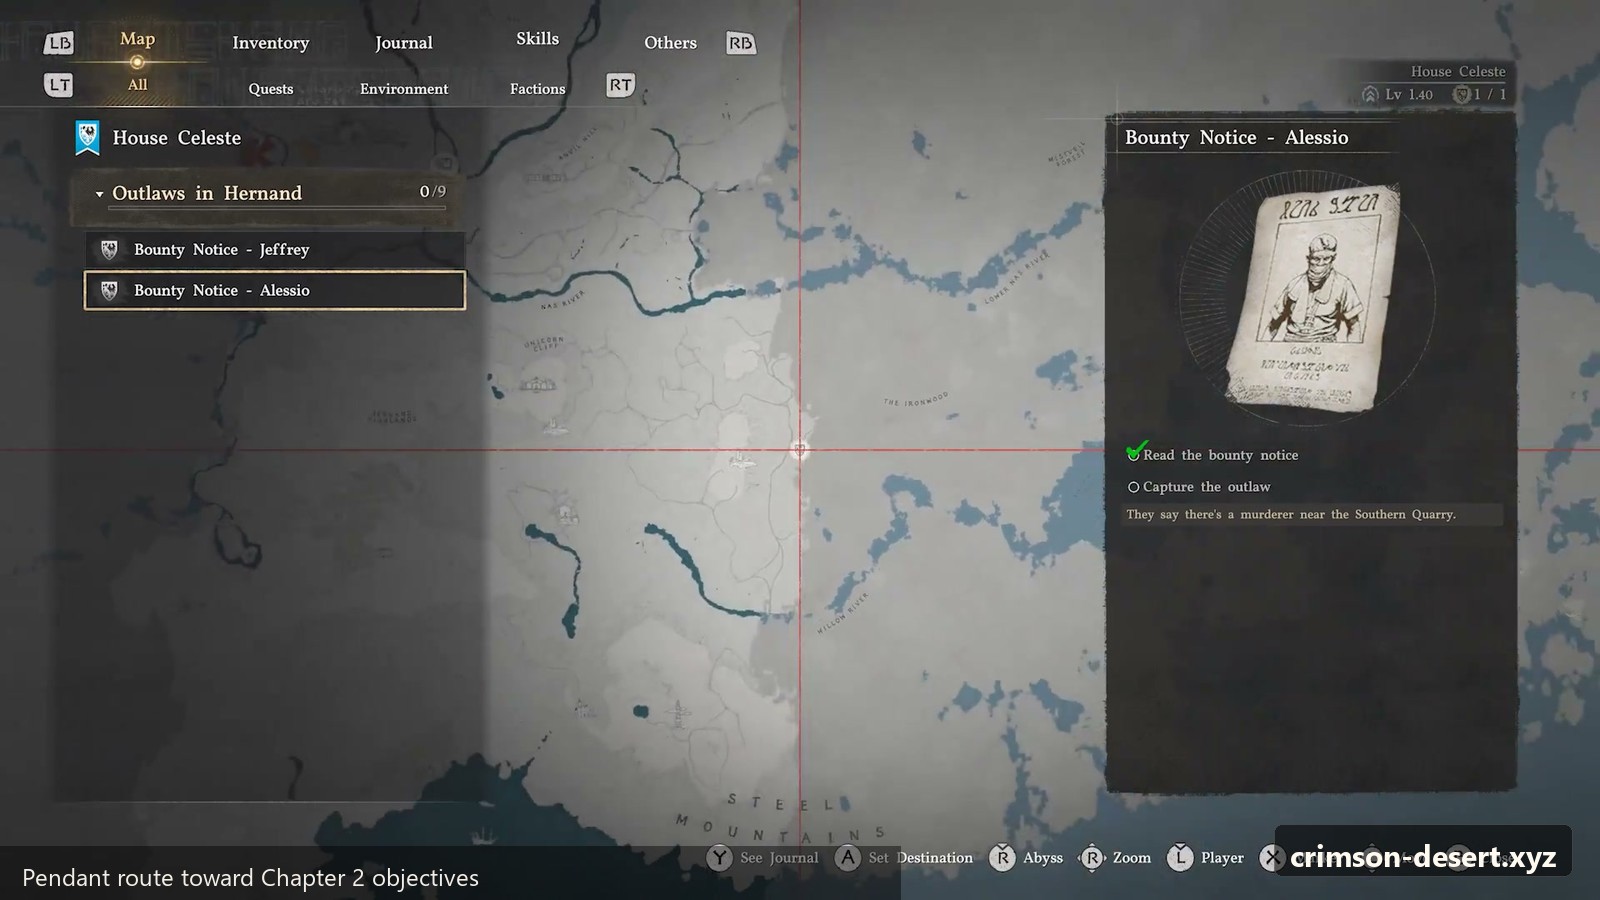
After the duel, Barden Middler asks Kliff to help restore order. Your route then pushes southeast toward Springtide Mill. Clear the bandits at the mill, inspect the Notice Board, and pick up the four sub-missions that form the investigation chain.
Trial After Trial
Speak with Bremer, whose cattle were taken by bandits. Question the witnesses near the road sign outside town; you will need to offer coin before they cooperate. Follow the herbalist on horseback to the bandit camp, defeat the enemies, then use your lantern to reveal the memory clue near the dead cattle. Equip Visione to replay the memory and return to Bremer with what you learned.
The Man Trapped in the Mire
Find Ibano in town and follow the marker to another bandit camp. After clearing it, search for the nearby memory fragment. Visione reveals what happened, and a mysterious elixir can be recovered from the area. Bring it back to Ibano to complete the objective.
Missing Companion
Travel to Bloomwood Ranch and speak with William, who is looking for his sheep, Wooly. Question the witnesses south of the ranch to learn that bandits across the river are involved. Clear their camp, retrieve the sheep, and ride back. The twist is that the sheep you recover is not actually Wooly, which sends the story toward the next clue.
Secrets Hidden in the Dark
Follow William to Boris, a Greymane who has been drinking and fighting with villagers. Once he leads you to the hidden cave, defeat the guards outside and inspect the memory fragment within. When you leave, the villagers begin reclaiming their stolen property, and the investigation points toward the Hornsplitter and the Goldleaf Merchant Guild.
End of Greed Walkthrough
Use your map to locate the Goldleaf Merchant Guild headquarters and confront Shakatu. He avoids giving Kliff a straight answer at first, but the chapter quickly escalates when bandits set fire to nearby homes and trap a healer inside.
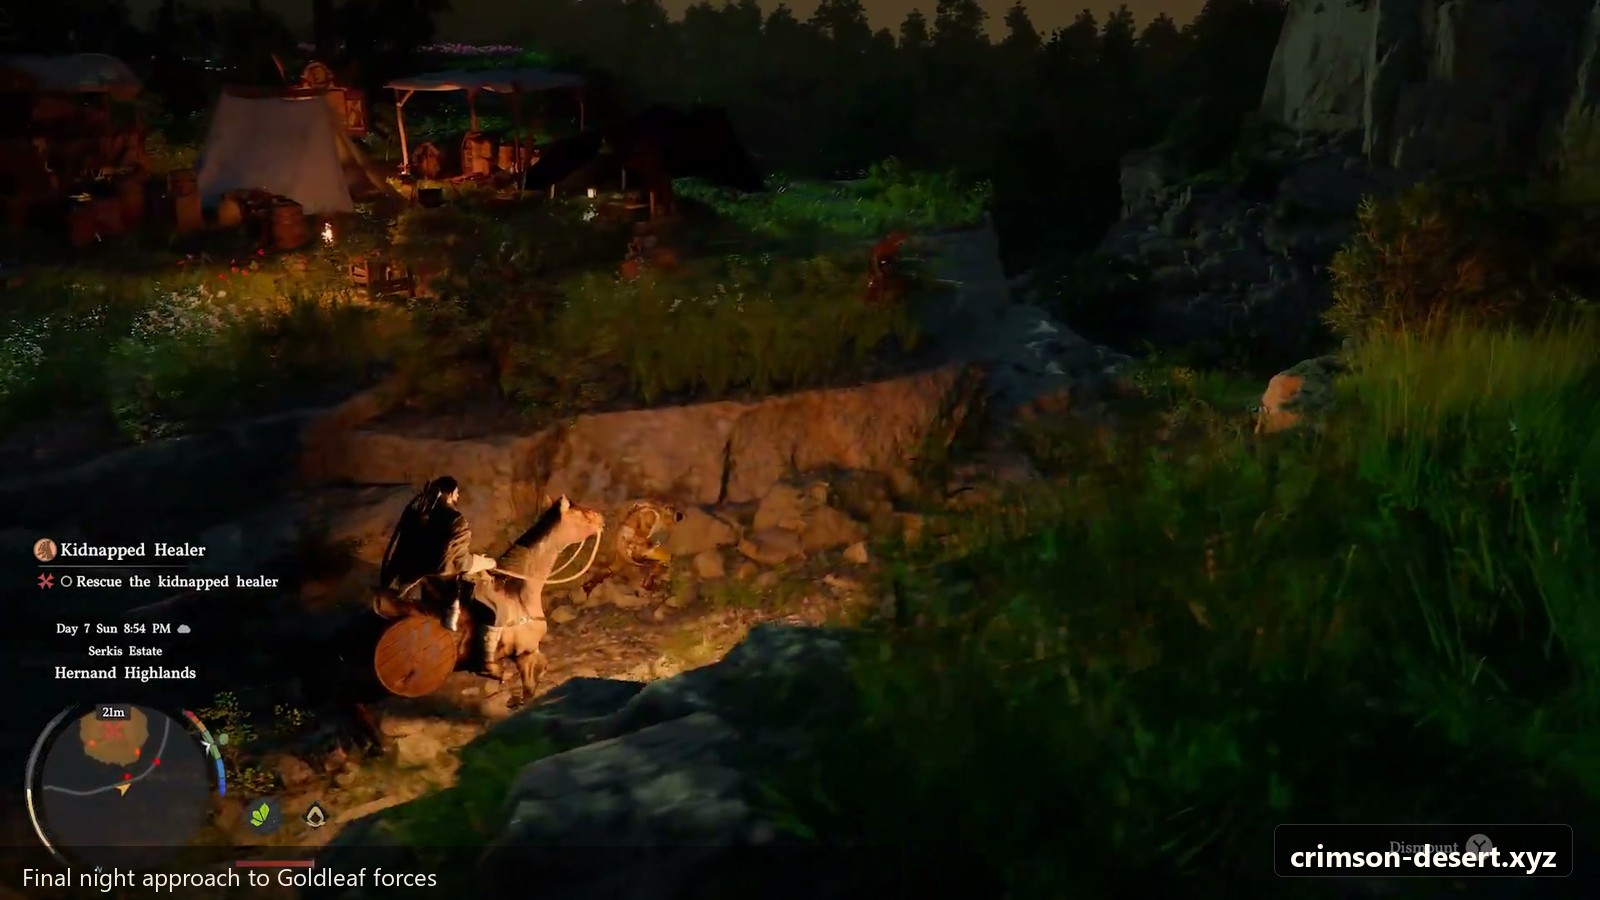
Rescue the Healers
At the burning house, two large trees block the entrance. You have a strict time limit, so use Nature’s Grasp immediately to move both trees, enter the house, and carry the trapped man outside. Afterward, travel west to Hernand Highlands to rescue Hubert from a small bandit camp.
Hubert explains that Shakatu was the rightful guild leader before the Hornsplitter took control by force. This reframes the guild conflict and sets up the chapter finale.
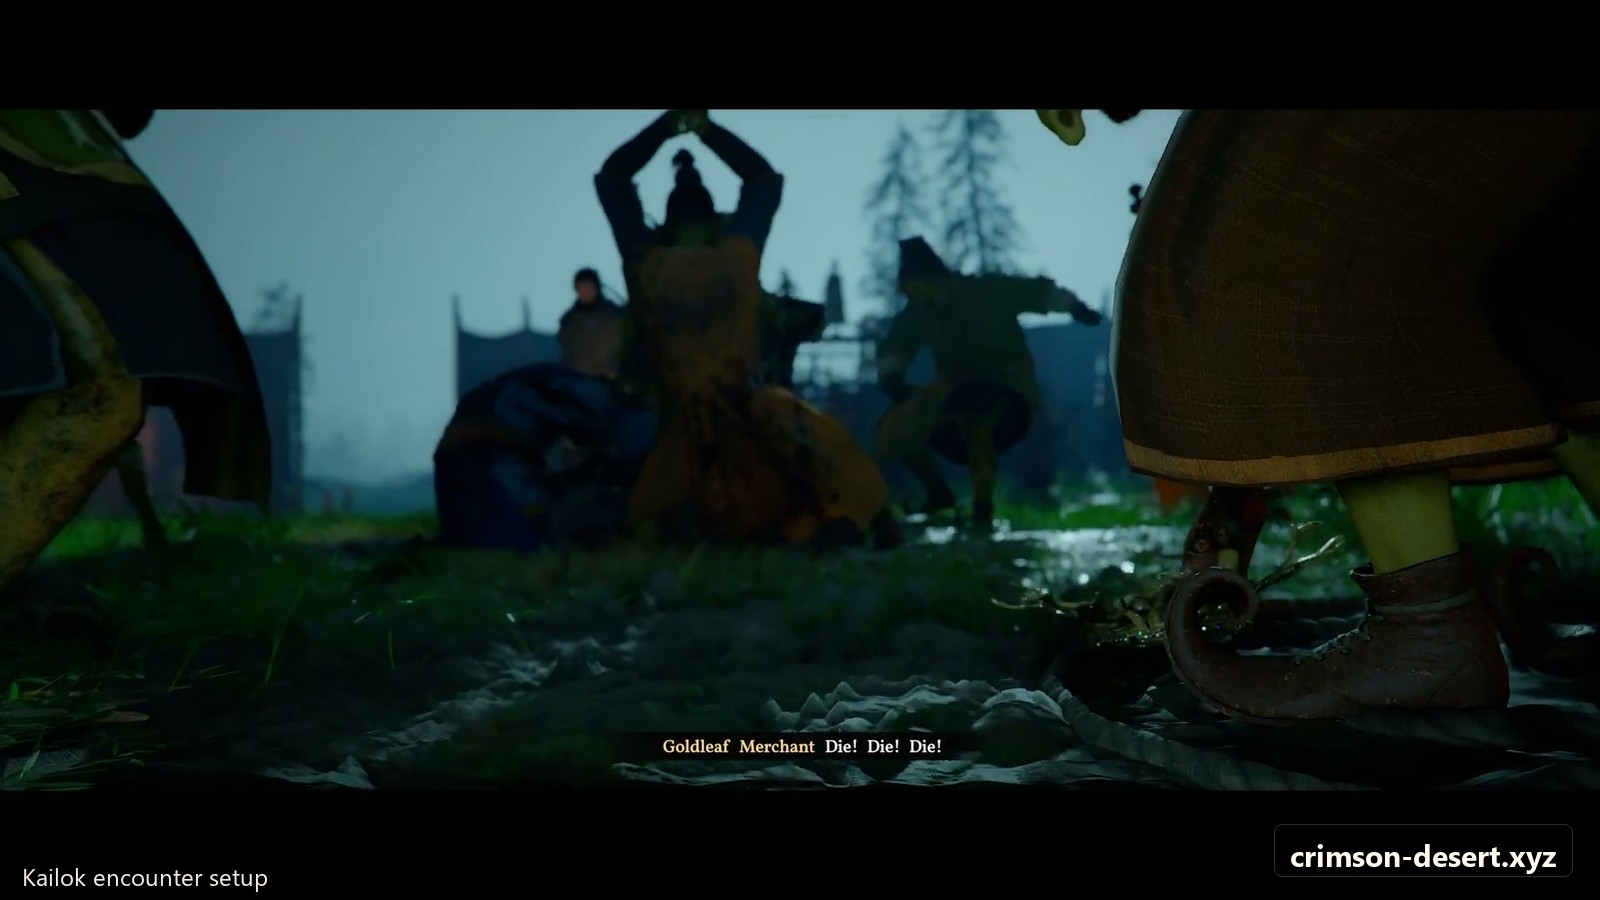
Rebellion or Revolution
Return to Shakatu’s camp. Guards attack first, but Shakatu eventually stops the fight and confirms that Kailok the Hornsplitter is the real enemy behind the raids. Continue through the conversation to trigger the final battle.
How to Beat Kailok the Hornsplitter
Kailok is fast, aggressive, and good at punishing greedy attacks. The safest strategy is to fight reactively: defend first, punish after committed swings, and keep enough stamina to escape his follow-ups.
- Perfect Guard: Use it whenever you can read his sword strings. A clean guard can create a valuable stun window.
- Triple Force Palm: Use this to knock Kailok away when you need breathing room or a chance to heal.
- Evasive Roll: Watch Kailok’s movement carefully. Learning this defensive option during the fight gives you a stronger answer to his pressure.
- Energy waves: These cover more space than they appear to. Back away or block rather than dodging sideways too late.
Do not overcommit after a single dodge. Kailok often chains pressure, so limit yourself to short counterattacks unless he is stunned. Once he falls, Shakatu reclaims the guild crown, and Kliff can claim Kailok’s sword as the chapter reward.
Quick Checklist
- Follow the pendant beam to Lioncrest Watchtower.
- Use a brazier-lit arrow to burn the vines at the entrance.
- Pick up Visione and use it on memory fragments.
- Learn Nature’s Grasp at the ruins.
- Solve the disk puzzle: middle, left, right.
- Clear Springtide Mill and complete all four Notice Board sub-missions.
- Confront Shakatu and rescue the trapped healers.
- Defeat Kailok with Perfect Guard timing, short counters, and careful stamina use.
Related Crimson Desert Routes
FAQ
Where should I go after this guide?
Use the related route links above to continue through nearby main guides, quest routes, boss briefings, and build notes.
Is this guide part of Chapter 2?
Yes. This page is connected to the Crimson Desert guide index so players can move between chapter content without returning to the homepage.
Before You Move On
Before leaving this part of the guide, make a quick pass through the practical checks: healing stocked, camp or settlement visited, any new side quest accepted, and any locked route written down for later. Crimson Desert often rewards the player who looks once more after the obvious story beat ends.
Common Sticking Point
For the Golden Greed route, the usual problem is not missing a huge objective. It is missing a small transition: one line of dialogue, one object interaction, one route marker that changes after the first step. When that happens, go back to the last place where the game changed the objective text.
Useful Next Pages
- All Chapters Guide for the full story order.
- Quest Index for side routes and exploration cleanup.
- Boss Index when the route turns into a major fight.
- Build Index when gear, camp, or crafting choices start to matter.
FAQ
Should I finish every side route before continuing?
Not always. Finish nearby quests and anything tied to your current camp or region. Save long cross-map errands until the story naturally sends you closer to them.
What is the safest way to use this walkthrough?
Read the next section only when you need direction. Use the page to clear confusion, then return to the game so the chapter still feels like exploration.