
Editor’s Route Brief
Prologue: Dead of Night Walkthrough is best used as a route companion, not a script. The main job of this page is to keep the opening escape and tutorial pressure readable while you are actually playing, especially when the game starts mixing travel, dialogue, combat, and optional cleanup in the same stretch.
My advice for this part is simple: learn the controls, keep moving, and remember which landmarks can be revisited later. If the route starts to feel unclear, pause at the last objective update and check nearby NPCs, doors, climbable edges, or camp options before riding to a wider search area.
Dead of Night is the Prologue of Crimson Desert, and it does a lot more than introduce Kliff. It teaches basic movement, throws the Greymanes into disaster, introduces the Black Bears, and sends you through the Abyss before Chapter 1 properly begins in Hernand.
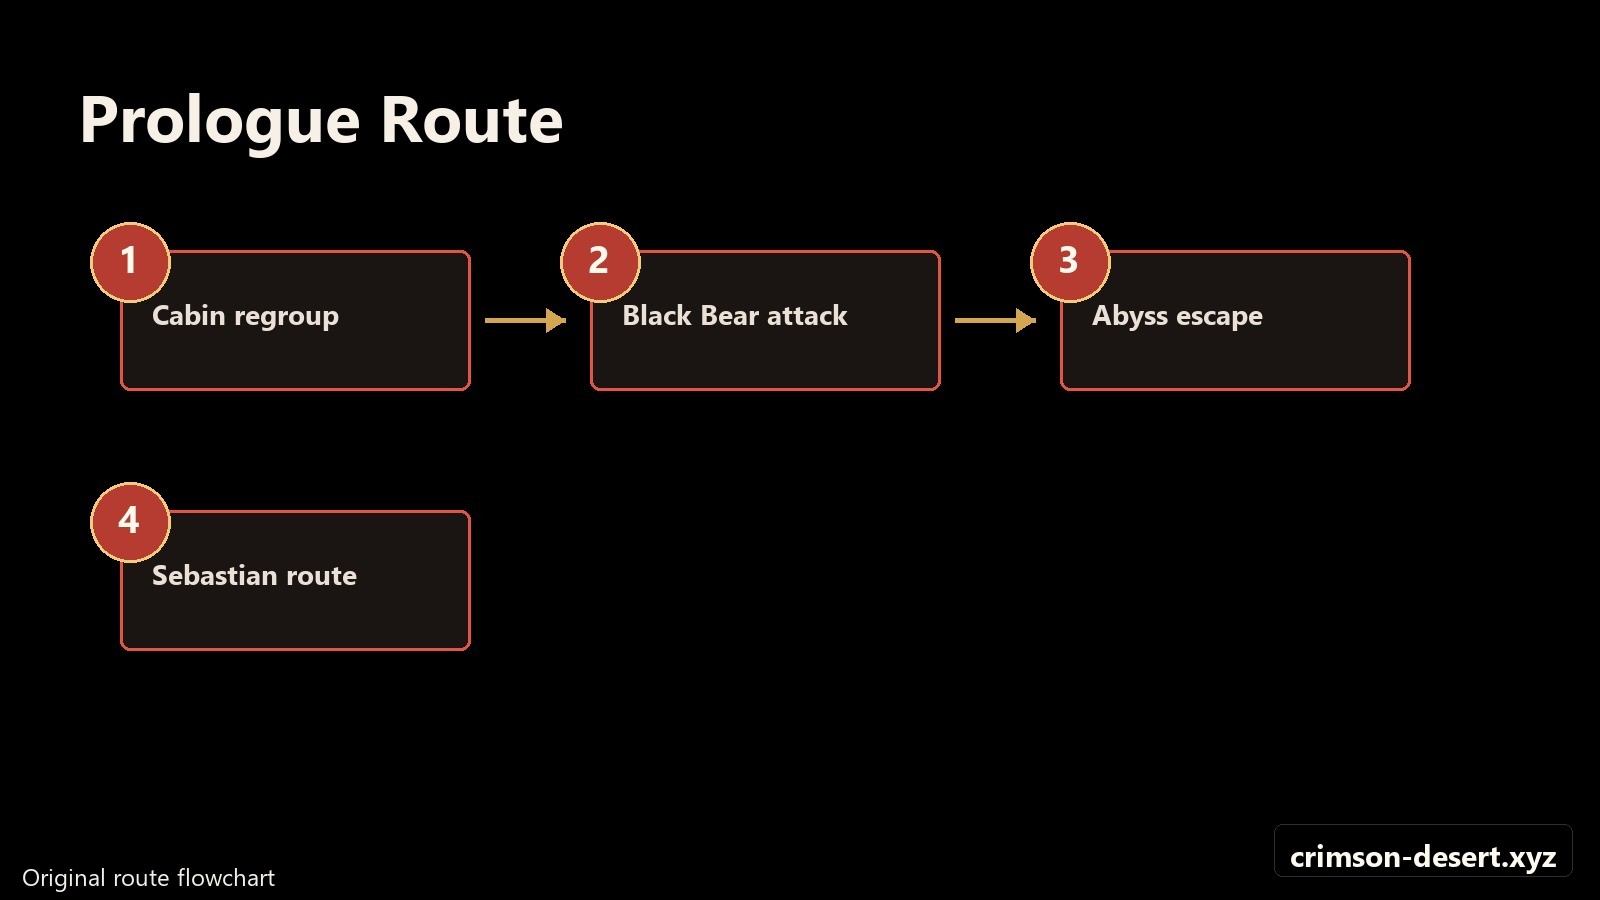
Route Flowchart
Screenshot Walkthrough

Prologue Overview
- Chapter: Prologue: Dead of Night
- Main quest arcs: Ambush and Unknown Space
- Key locations: Hernadian Territory, Greymane cabin, Corridor of the Void, Three Saints Falls, and the road to Hernand
- Important unlocks: Blinding Flash, Lantern use, basic climbing, basic mounted travel, and extra inventory space
- Boss encounter: Myurdin, leader of the Black Bears
Ambush: Unfamiliar Lands
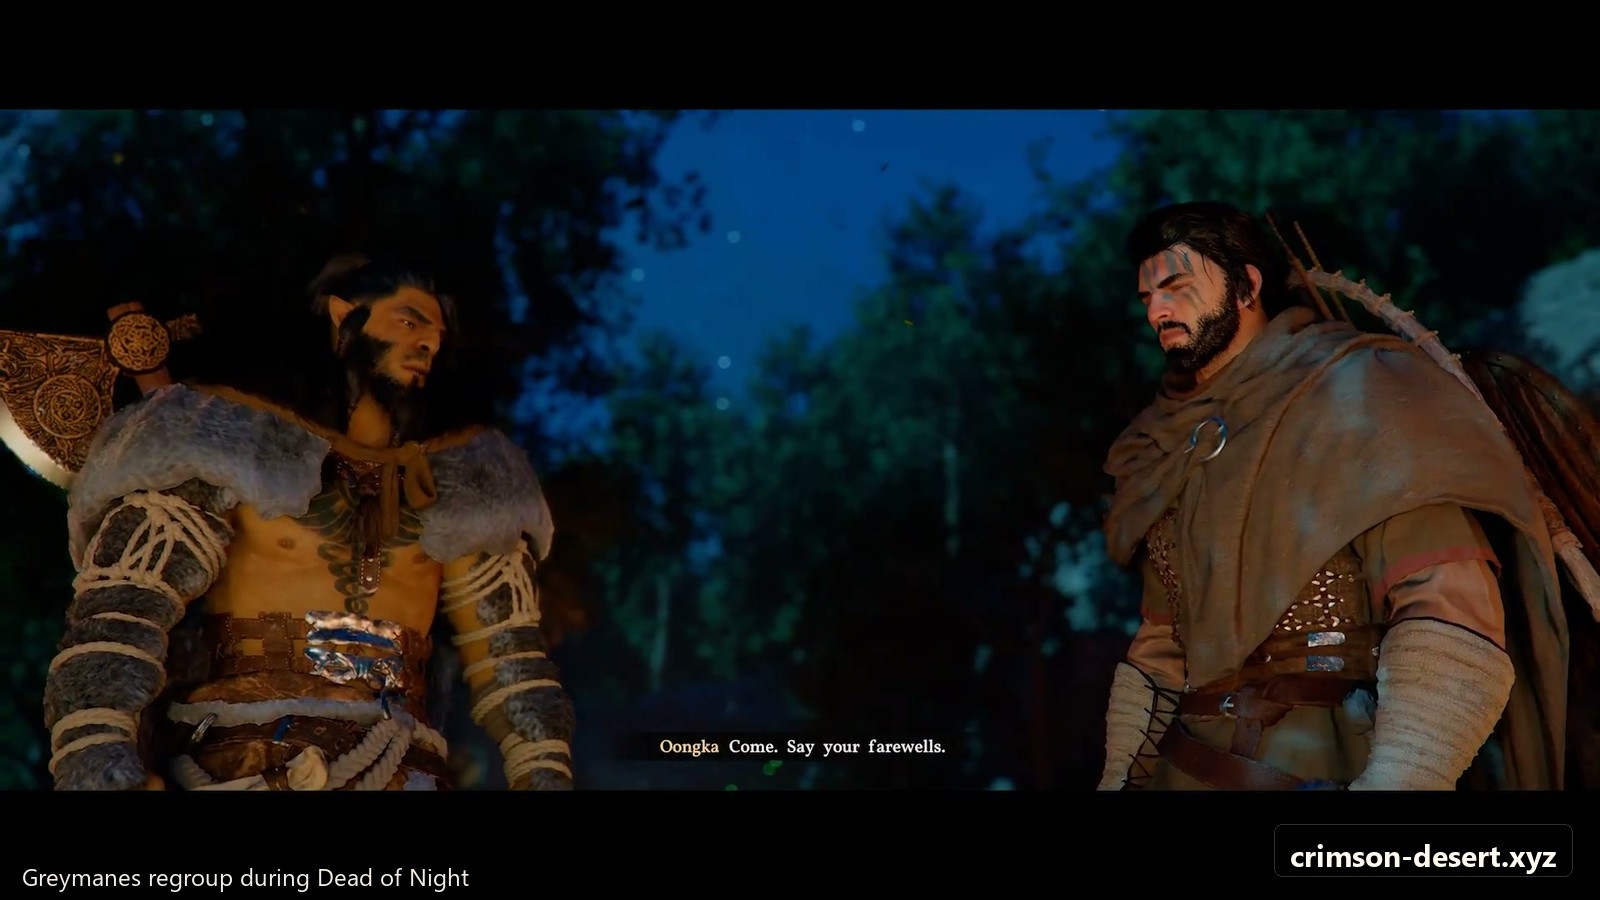
The Prologue begins with Kliff and the Greymanes regrouping near a cabin after the Black Bears close in. Follow the slope down toward the cabin and speak with your allies. The objective is linear, so this is the safest moment to get comfortable with movement, camera control, interaction prompts, and how the minimap points you toward the next conversation.
Talk to Oongka if the optional prompt appears. It is not required for completion, but early companion dialogue helps establish the Greymane group before the attack begins. Then speak with Marius and Ross as markers update around the cabin area.
Ambush: In Ashes
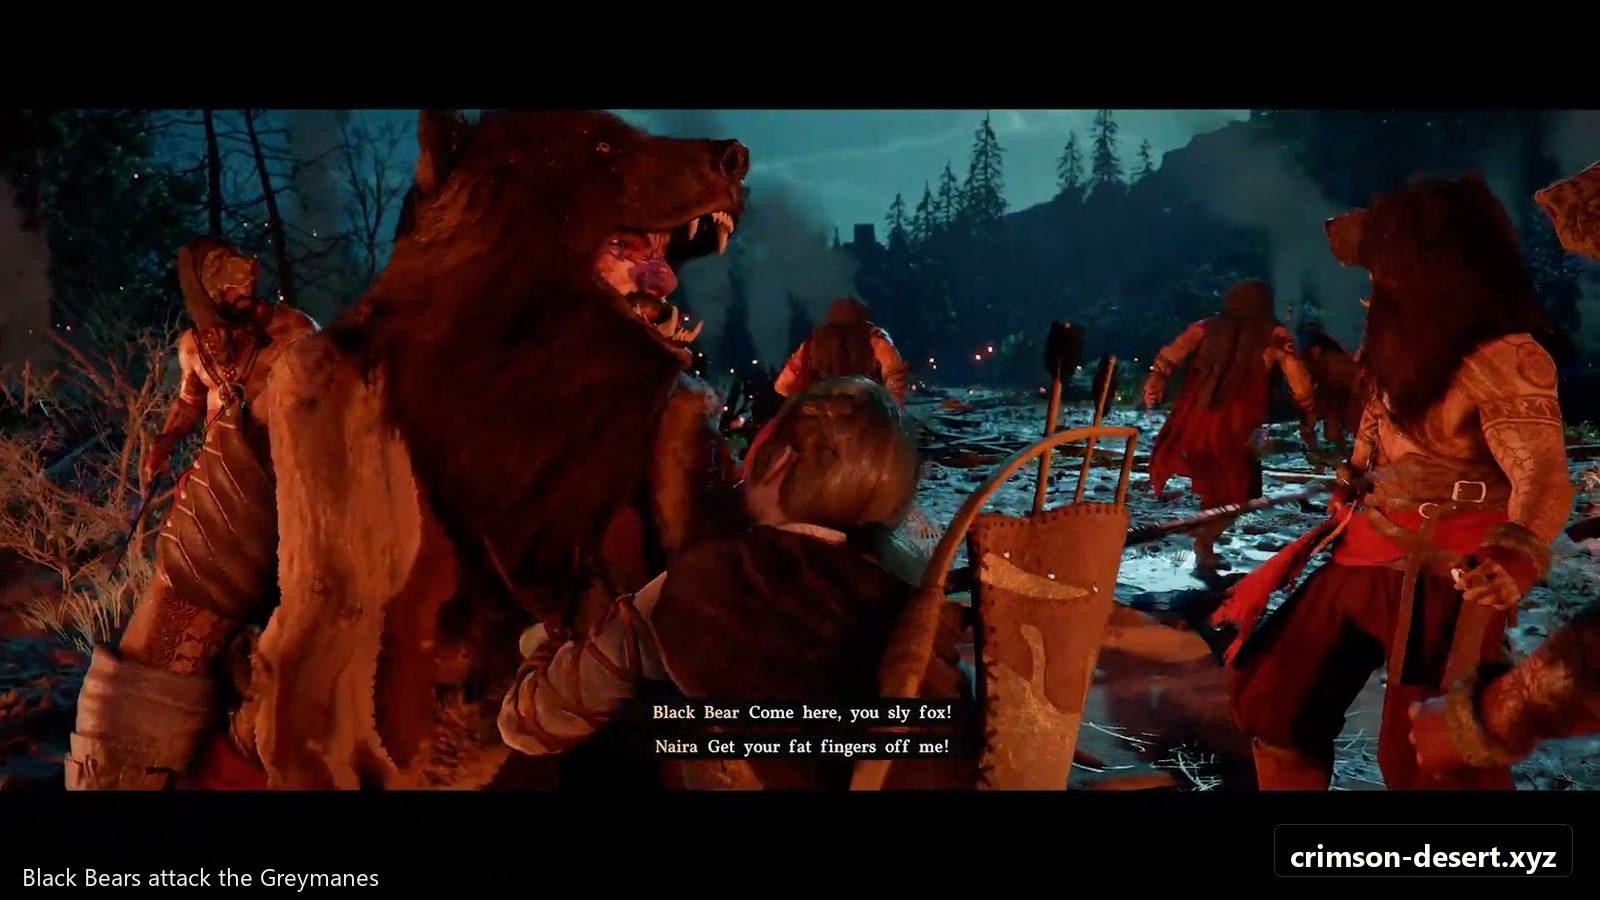
After the cabin sequence, the Black Bears attack. Fight through the invaders and move toward your allies when the game points you to them. Several moments here blend combat, cinematic direction, and quick-time prompts. If a prompt appears after a cutscene, react immediately rather than trying to reposition first.
The battle eventually pushes Kliff into a confrontation with Myurdin. You can fight back, but the encounter is scripted to move the story forward. Even if you perform well, the Prologue continues into the Abyss afterward, so treat this fight as a combat tutorial rather than a reward farm.
Unknown Space: Realm of Uncertainty
Kliff wakes in the Abyss, where the game shifts into movement and utility tutorials. Move forward through the corridor, practice jumping and climbing, then look for the sealed door with a light device above it. This is where you learn Blinding Flash.
Use Blinding Flash on the light device to open the way. On controller, enter the stance with the shoulder-button prompt shown by the game; on keyboard and mouse, the input can be strict, so press the required buttons at the same time rather than one after the other. After the door opens, equip your Lantern from the radial menu and follow the dark tunnel out.
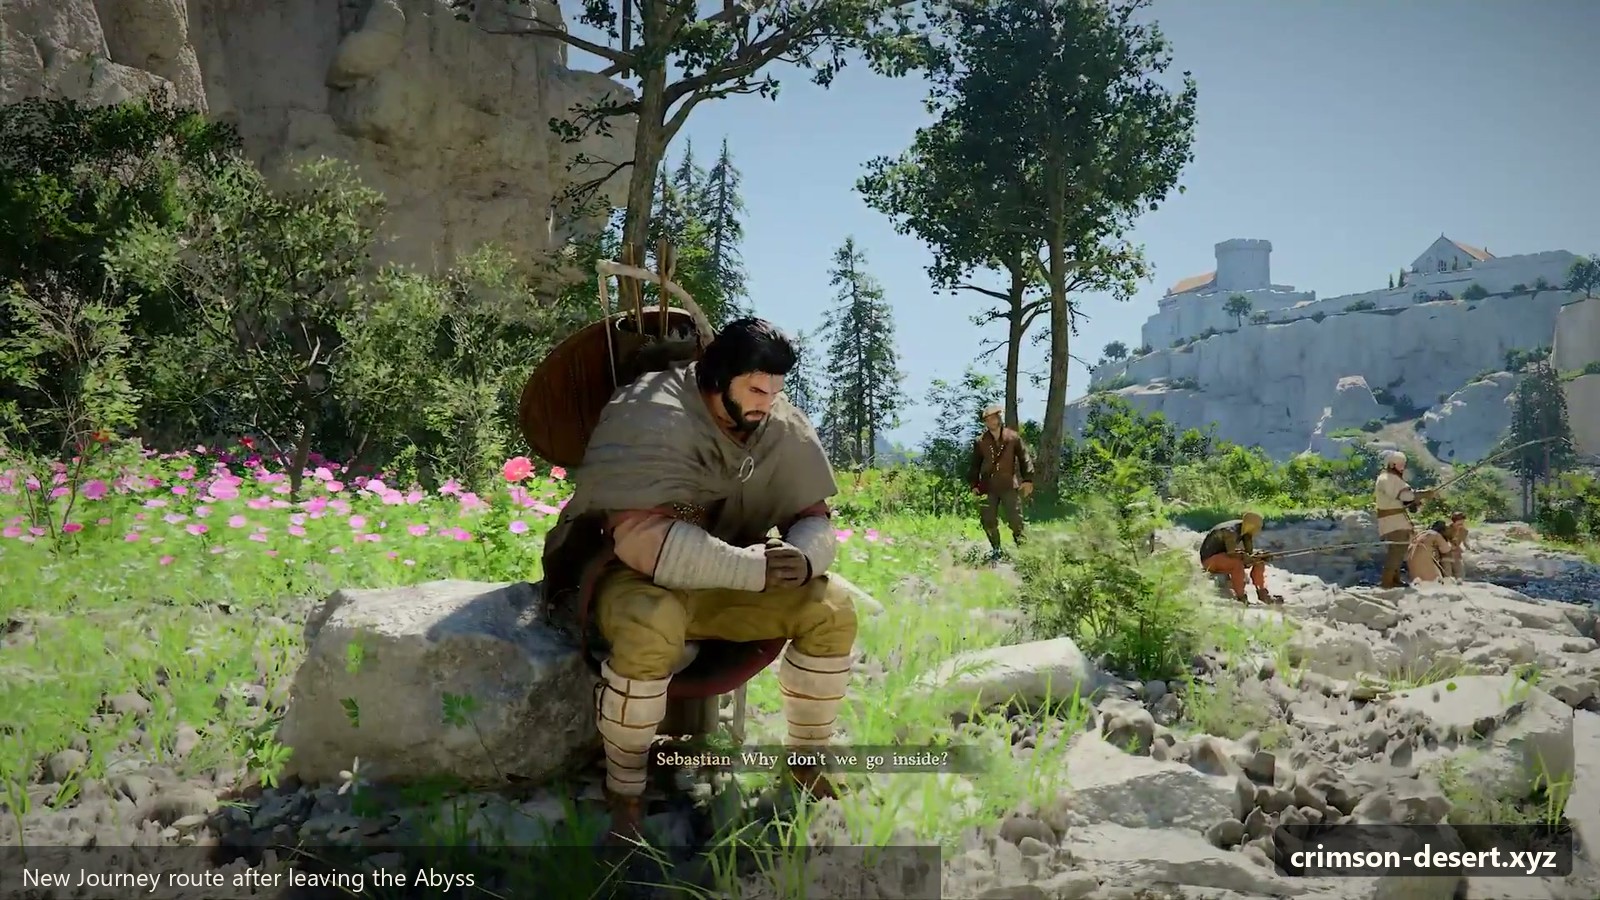
New Journey: Follow Sebastian
After leaving the Abyss, Sebastian helps Kliff recover and guides him toward Hernand. Follow him, defeat the hostile soldiers that interrupt the route, then mount the nearby horse when prompted. This final stretch introduces travel rhythm more than difficulty: stay close, follow the road, and let the story transition naturally into Chapter 1.
Rewards and Unlocks
- Standard Inventory Expansion Tool
- Oats x10
- Blackberry x5
- Core mobility practice: sprinting, jumping, climbing, crouching, and horseback travel
- Blinding Flash and Lantern tutorial knowledge
Prologue Tips
- Do not worry about fully defeating Myurdin on a first playthrough; the story proceeds the same way.
- If Blinding Flash feels unresponsive, press the activation inputs together cleanly instead of staggering them.
- Use the Lantern whenever the Abyss tunnel becomes difficult to read.
- Stay near Sebastian during New Journey so the route does not become confusing.
Related Crimson Desert Routes
FAQ
Where should I go after this guide?
Use the related route links above to continue through nearby main guides, quest routes, boss briefings, and build notes.
Is this guide part of Prologue?
Yes. This page is connected to the Crimson Desert guide index so players can move between chapter content without returning to the homepage.
Before You Move On
Before leaving this part of the guide, make a quick pass through the practical checks: healing stocked, camp or settlement visited, any new side quest accepted, and any locked route written down for later. Crimson Desert often rewards the player who looks once more after the obvious story beat ends.
Common Sticking Point
For the opening escape and tutorial pressure, the usual problem is not missing a huge objective. It is missing a small transition: one line of dialogue, one object interaction, one route marker that changes after the first step. When that happens, go back to the last place where the game changed the objective text.
Useful Next Pages
- All Chapters Guide for the full story order.
- Quest Index for side routes and exploration cleanup.
- Boss Index when the route turns into a major fight.
- Build Index when gear, camp, or crafting choices start to matter.
FAQ
Should I finish every side route before continuing?
Not always. Finish nearby quests and anything tied to your current camp or region. Save long cross-map errands until the story naturally sends you closer to them.
What is the safest way to use this walkthrough?
Read the next section only when you need direction. Use the page to clear confusion, then return to the game so the chapter still feels like exploration.