
Quick Answer
- The Tomb of Perdition puzzle is about moving batteries between rotating cube rooms.
- Use Axiom Force to change which side is open, then place batteries with Force Palm.
- The common mistake is treating each room as separate. The puzzle is a loop, and the batteries must travel across it.
Tomb of Perdition looks more confusing than it is because the layout hides the route from you. Think of it as a battery transfer puzzle: open one side, move the power source, rotate the access, then carry the solution forward.
Core route
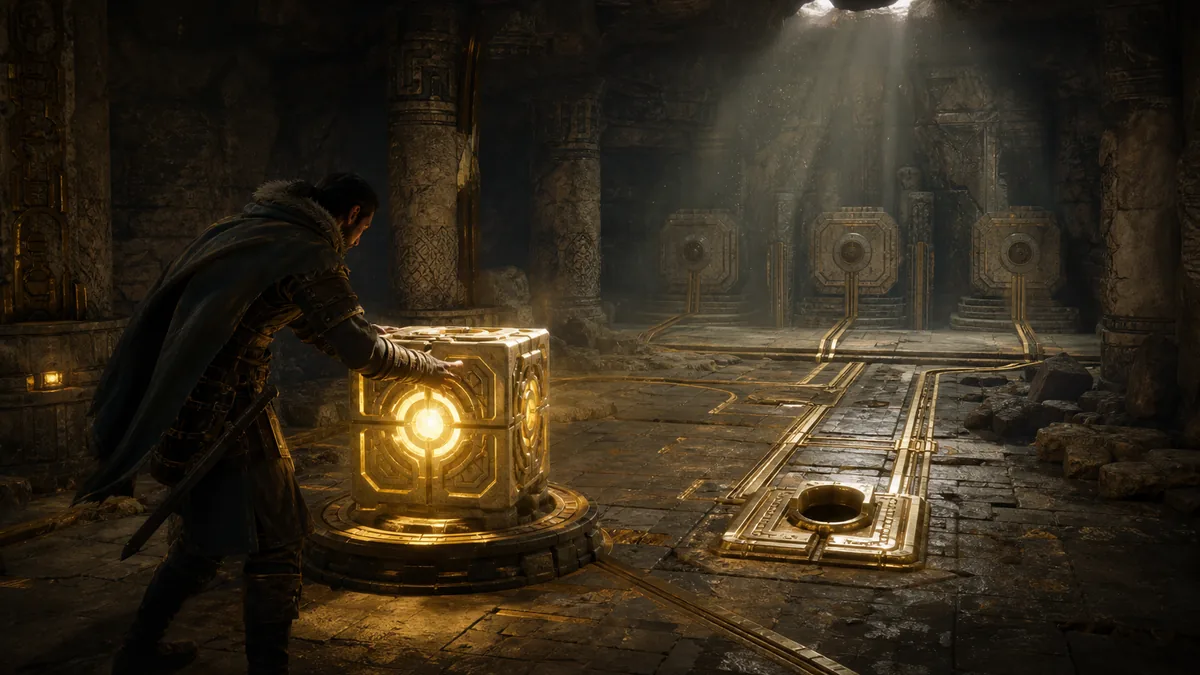
- Find the central control and use Axiom Force to rotate or reveal the active cube room.
- Move the first battery into the reachable slot and use Force Palm to place it.
- Return to the central control and switch access to the other room.
- Move the next battery across the route instead of leaving it behind.
- Use triple-jump or roof access when the path asks you to reach the top of a cube.
- Place the final battery and activate the large dial to restore the Abyss area.
Common mistakes
| Mistake | Fix |
|---|---|
| Leaving a battery in the first room | Bring batteries forward after each rotation unless the slot is clearly final. |
| Forgetting Force Palm | A battery near a socket is not enough. Place it with the correct interaction. |
| Missing roof access | Look up after the second transfer. Some puzzle progress happens above the obvious floor route. |
| Resetting too early | Walk the loop once more before assuming the puzzle broke. |
Screenshot plan before publishing
Before this page goes live, add one image for the central dial, one for each battery room, and one for the final roof/top placement. Those four images will make the guide much easier to follow.
FAQ
Do I need a special ability?
Yes. The puzzle relies on Abyss mechanics such as Axiom Force and Force Palm.
Is this a main story puzzle?
It belongs to the Abyss puzzle route and is best treated as a dedicated puzzle page rather than a general walkthrough paragraph.